Spooky & Stylish: Your Ultimate Guide to Outdoor Halloween Decor
Halloween isn’t just a holiday—it’s an opportunity to transform your outdoor space into a spine-tingling wonderland that’ll make the neighbors stop and stare. Whether you’re a Halloween novice or a seasoned spooky decorator, this guide will walk you through creating an unforgettable outdoor Halloween display.
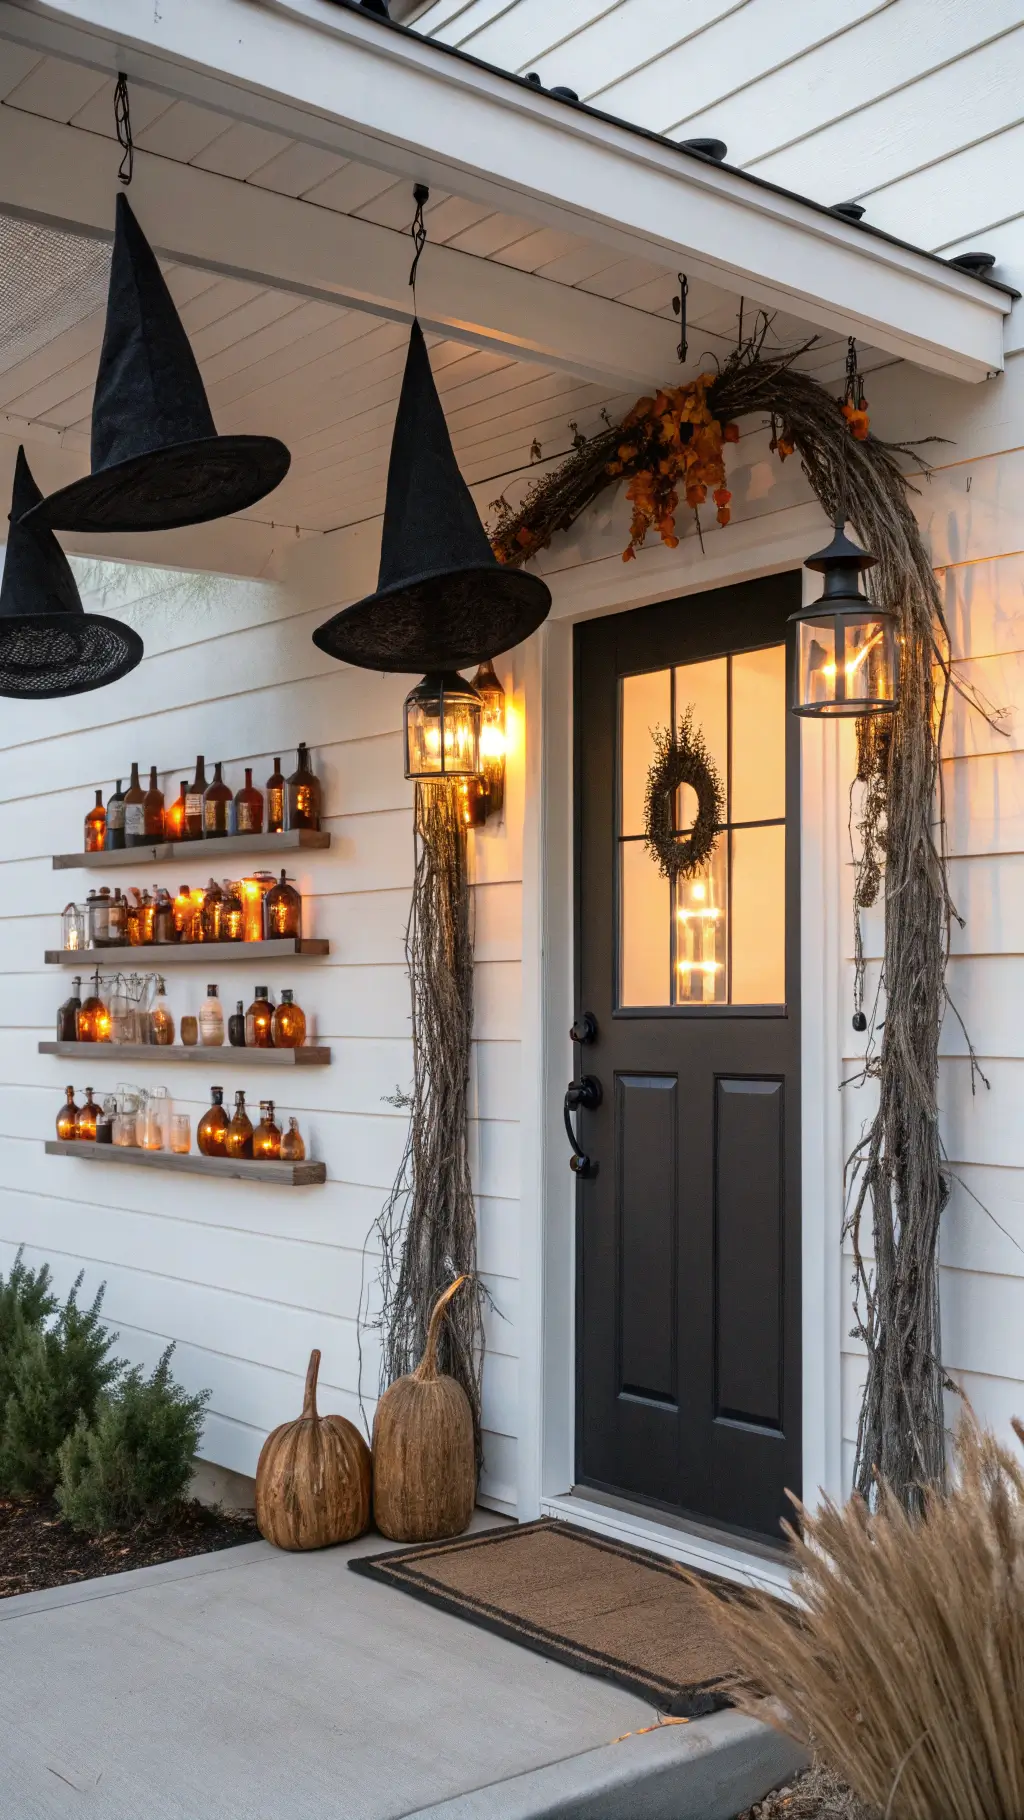
★ Steal This Look
- Paint Color: Sherwin-Williams Tricorn Black SW 6258
- Furniture: weathered wooden porch swing with iron chain hangers, distressed farmhouse bench
- Lighting: oversized black iron lanterns with flickering LED candles, vintage-style string lights with amber bulbs
- Materials: aged galvanized metal, rough-hewn cedar, blackened iron, dried corn husks, burlap, weathered barn wood
There’s something deeply satisfying about greeting trick-or-treaters at a porch that feels like a scene from your favorite gothic novel—it’s the one time of year your home gets to wear a costume too.
Why Outdoor Halloween Decor Matters
Let’s be real. Your outdoor Halloween setup is more than just decorations—it’s your chance to:
- Create jaw-dropping first impressions
- Delight trick-or-treaters
- Show off your creative spirit
- Have fun without breaking the bank
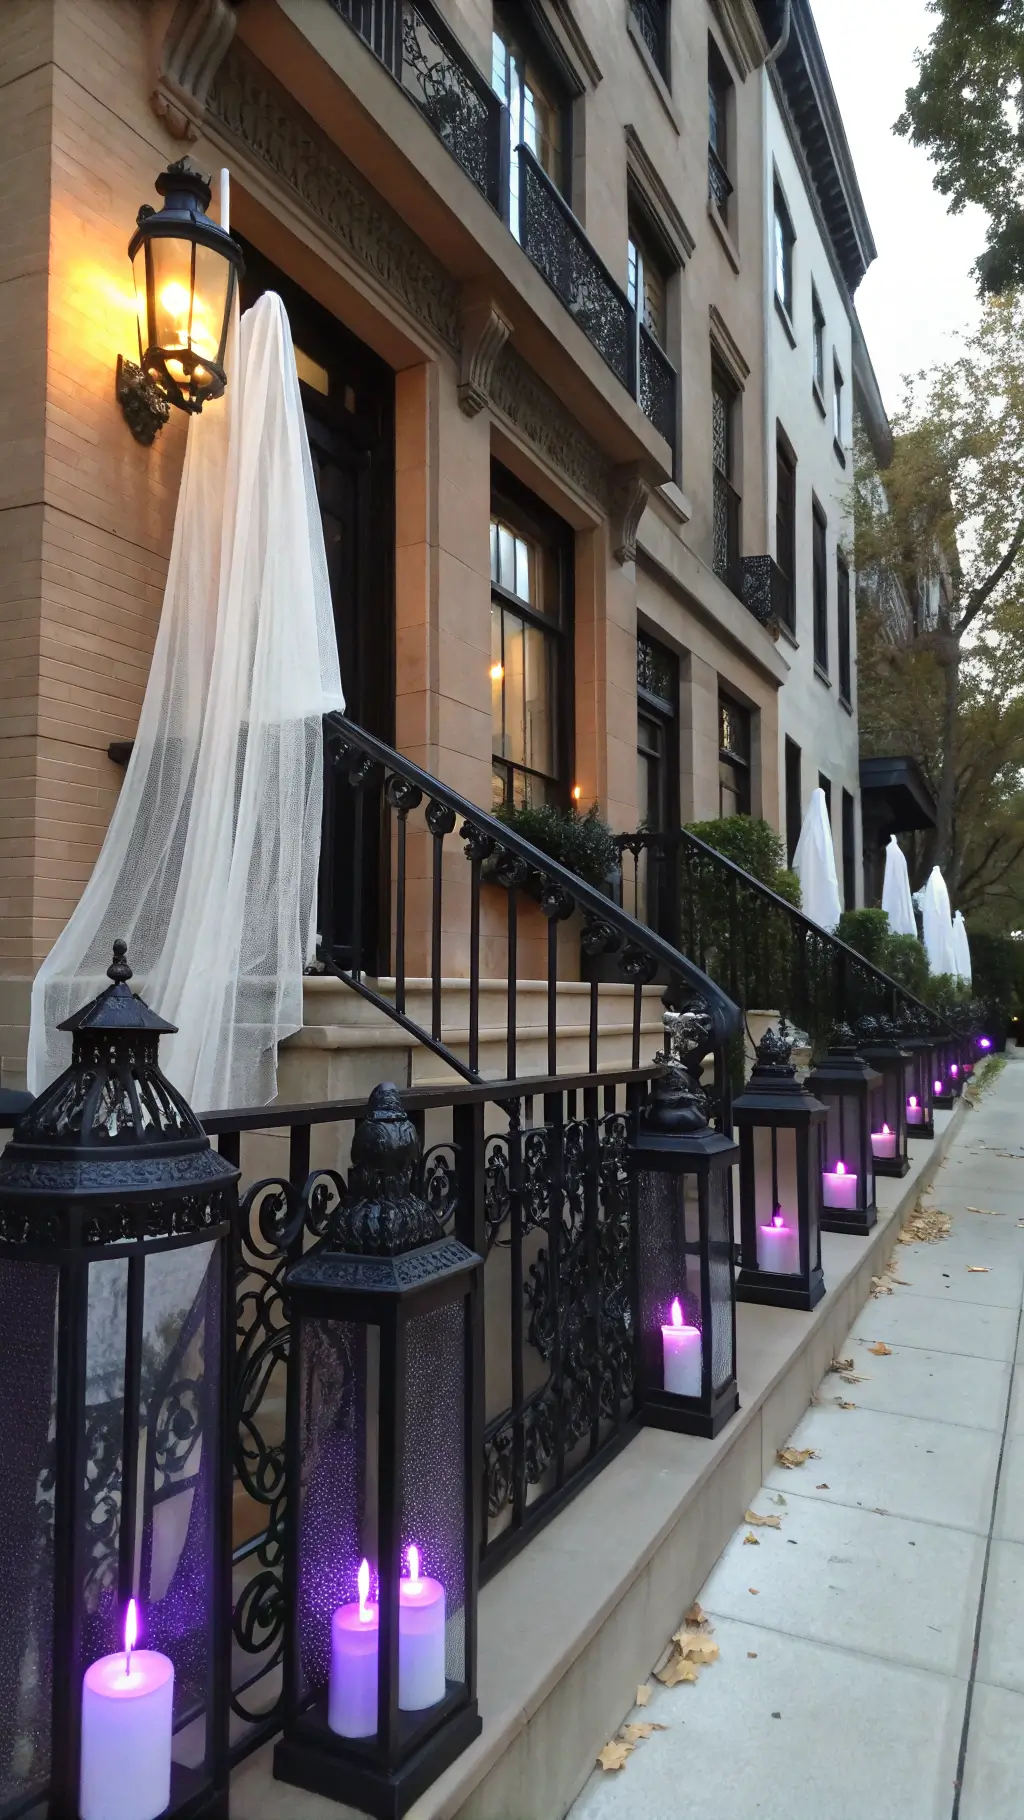
★ Steal This Look
- Paint Color: Benjamin Moore Wrought Iron 2124-10
- Furniture: weathered farmhouse porch bench with built-in storage for seasonal decor rotation
- Lighting: oversized black iron carriage lantern with flickering LED candle inserts
- Materials: distressed barn wood, aged galvanized metal, heavy black wrought iron, natural burlap, preserved moss
There’s something deeply satisfying about neighbors slowing their evening walks to point at your creation, and kids who remember your house year after year.
Essential Halloween Decor Pieces You’ll Need
The Must-Have Showstoppers
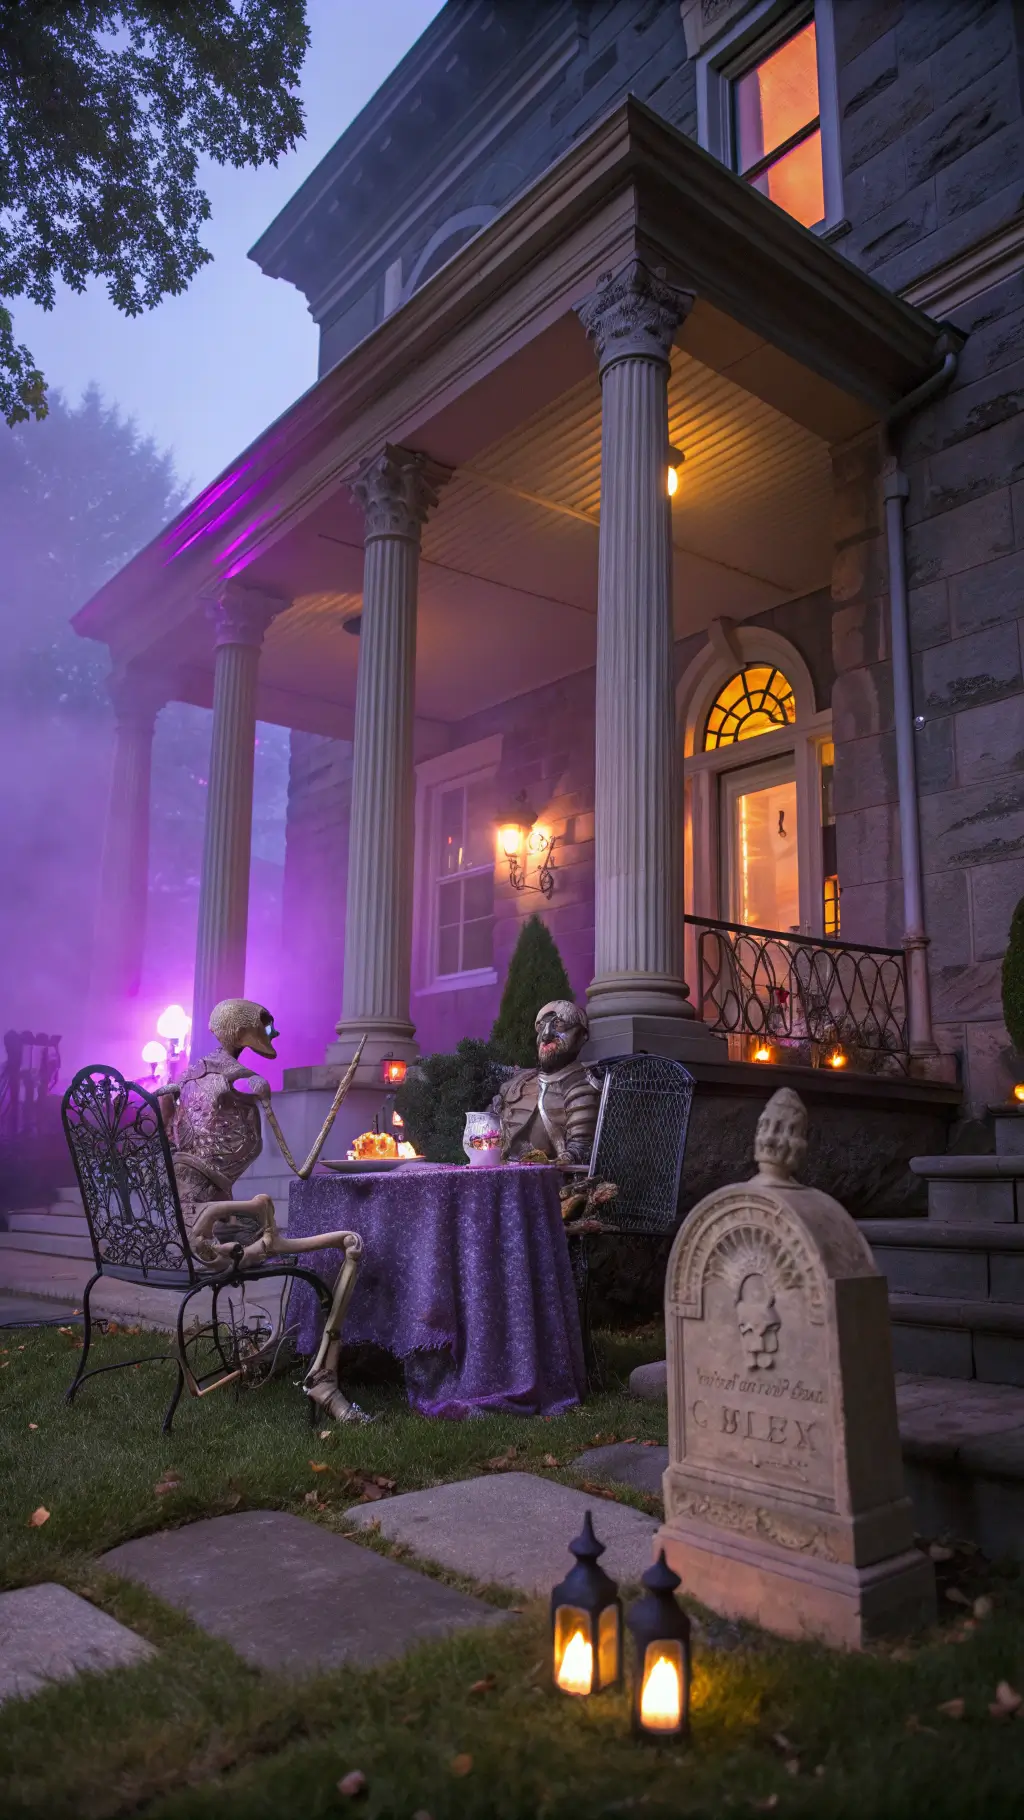
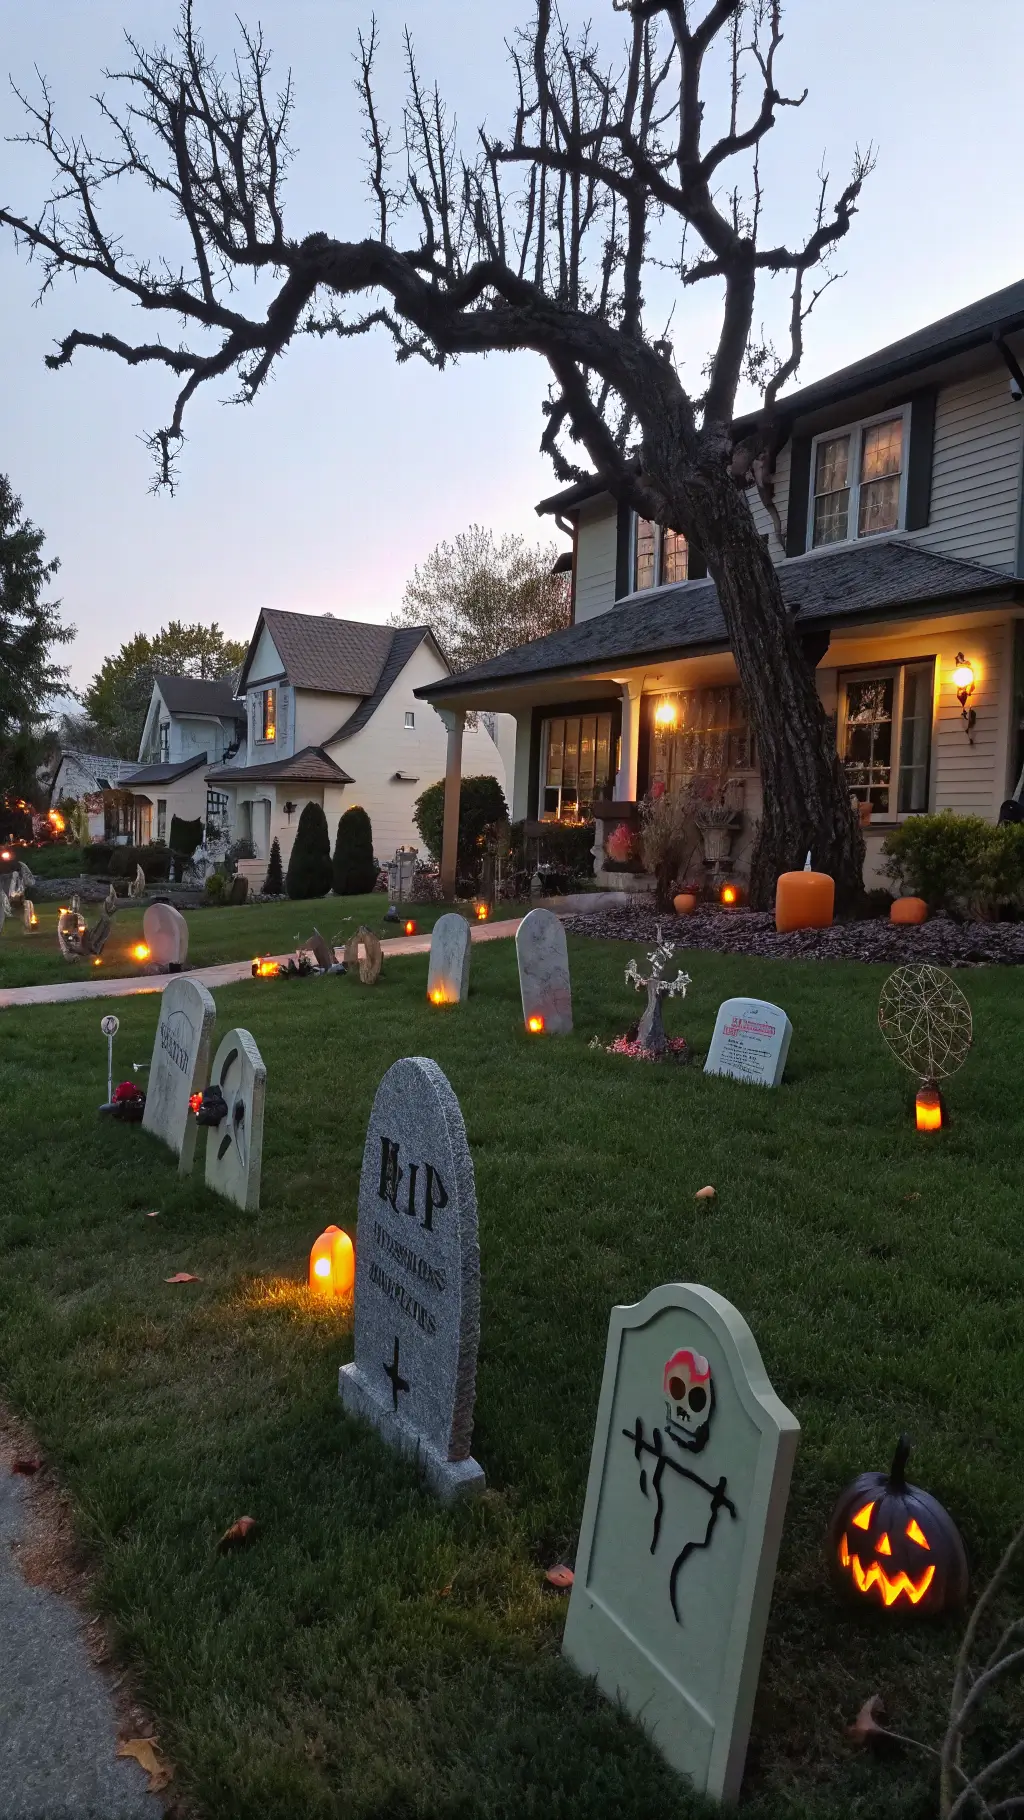
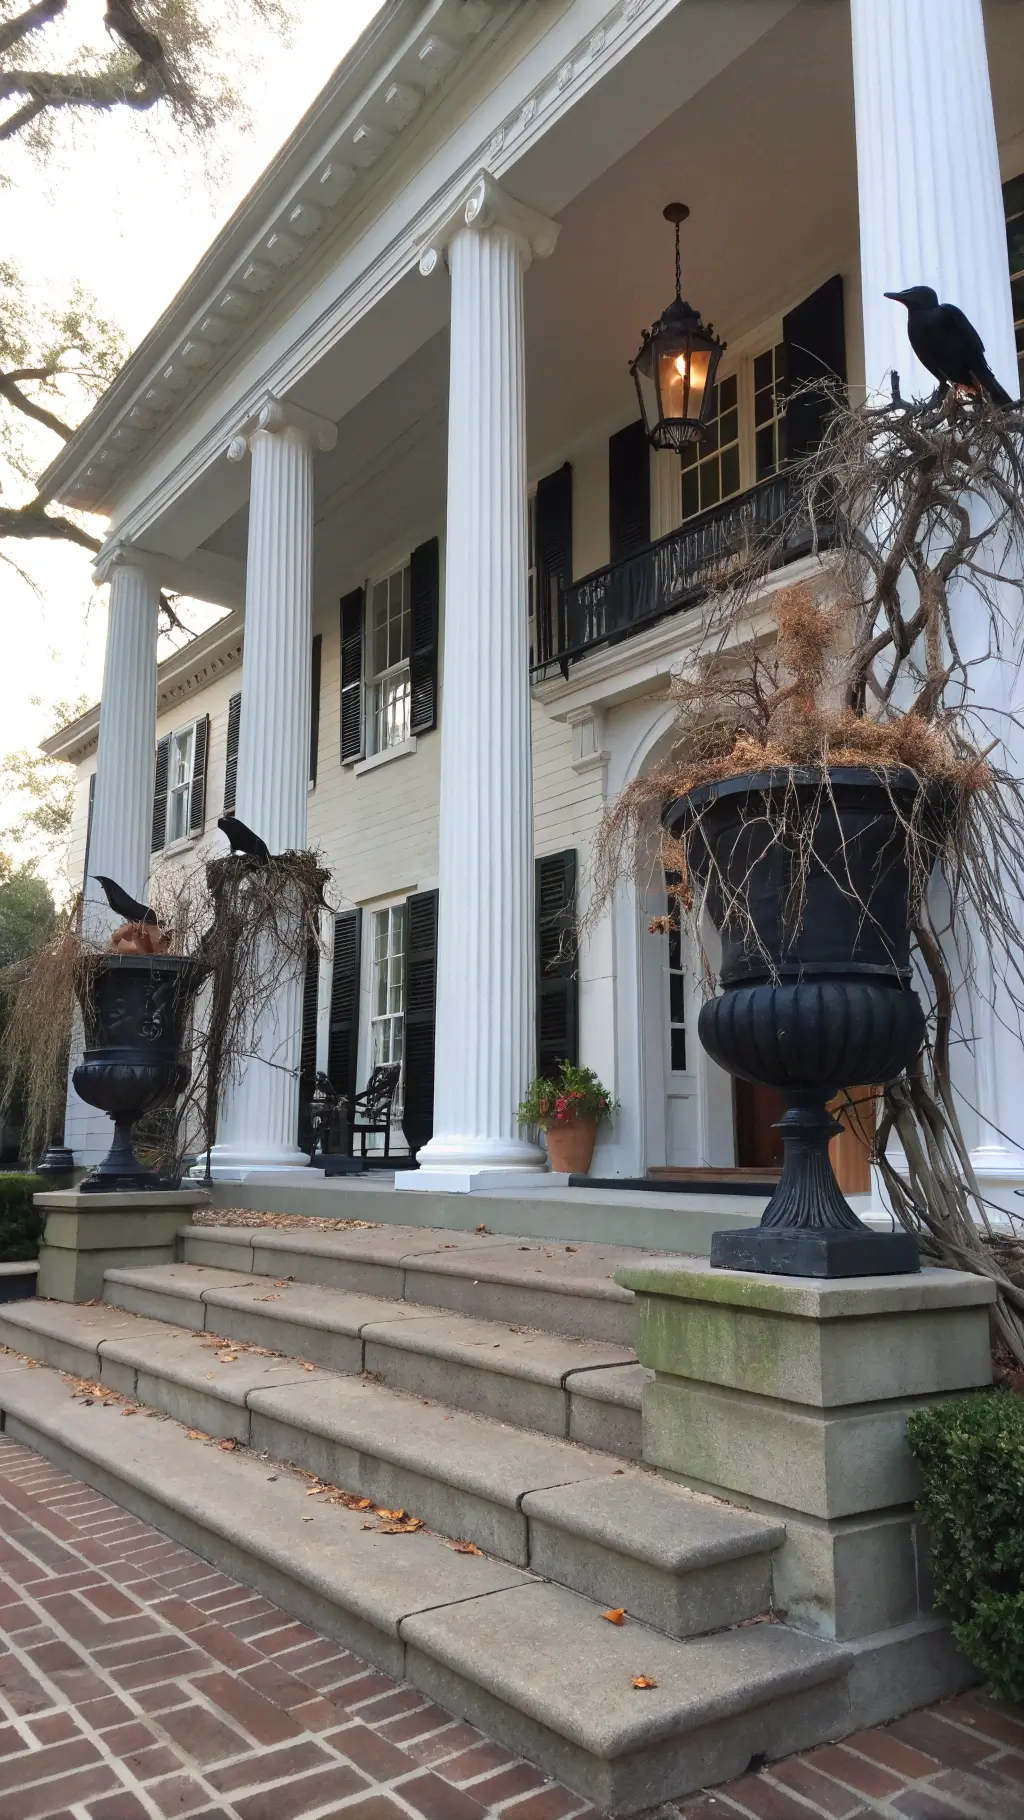
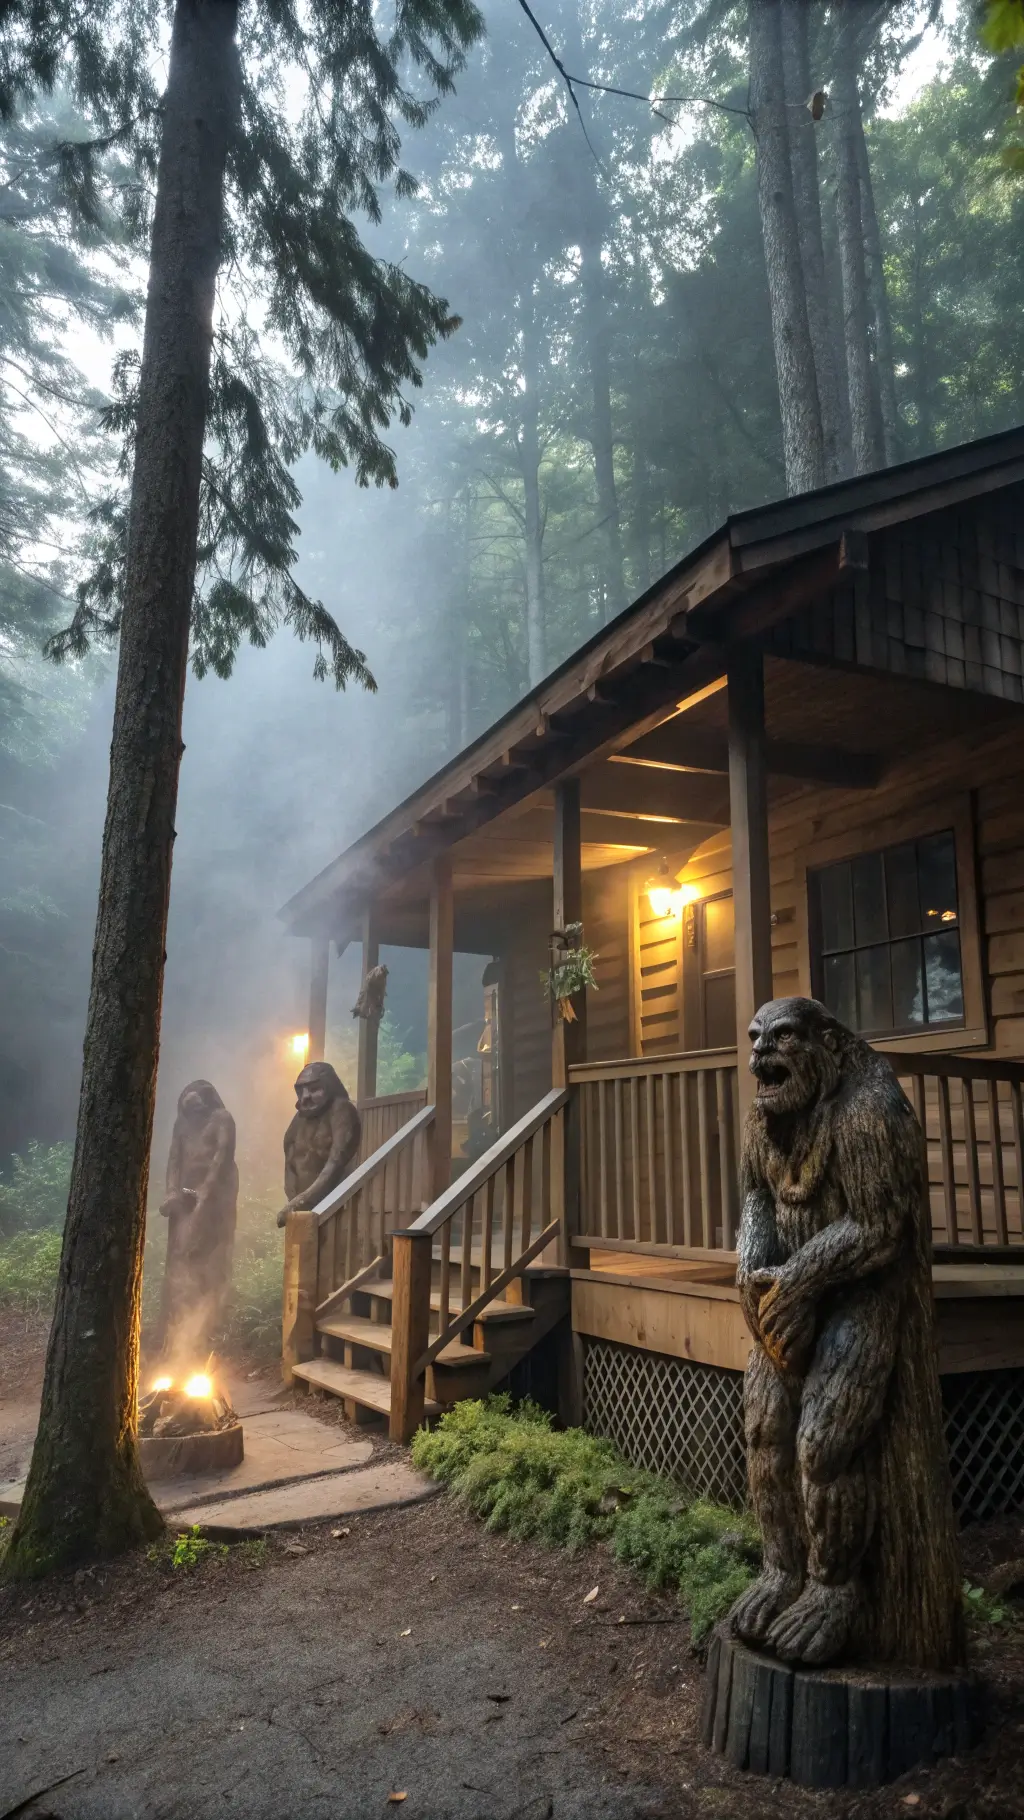
- Skeletons and Tombstones
These are your foundation pieces. I recommend poseable life-size skeletons and foam tombstones that can withstand outdoor conditions. - Lighting is Everything
Nothing sells the spooky vibe like strategic lighting. Consider:- Purple and orange string lights
- Flickering lanterns
- Battery-operated candles for tombstones
- Creepy Creatures
Add some movement with:- Inflatable ghosts
- Hanging witch hats
- Crawling spider decorations
🖼 Steal This Look
- Paint Color: use Farrow & Ball brand. Match moody exterior trim. Format: Farrow & Ball Off-Black No. 57
- Furniture: weathered wooden porch bench with iron scrollwork
- Lighting: antique-style black iron post lanterns with flickering LED candles
- Materials: distressed galvanized metal, aged cedar, crackle-finish ceramic, blackened iron
Your front porch is where trick-or-treaters form their first impression—think of it as staging a mini haunted house that unfolds in layers as visitors approach.
Budget-Friendly Styling Tips
Low-Cost, High-Impact Tricks
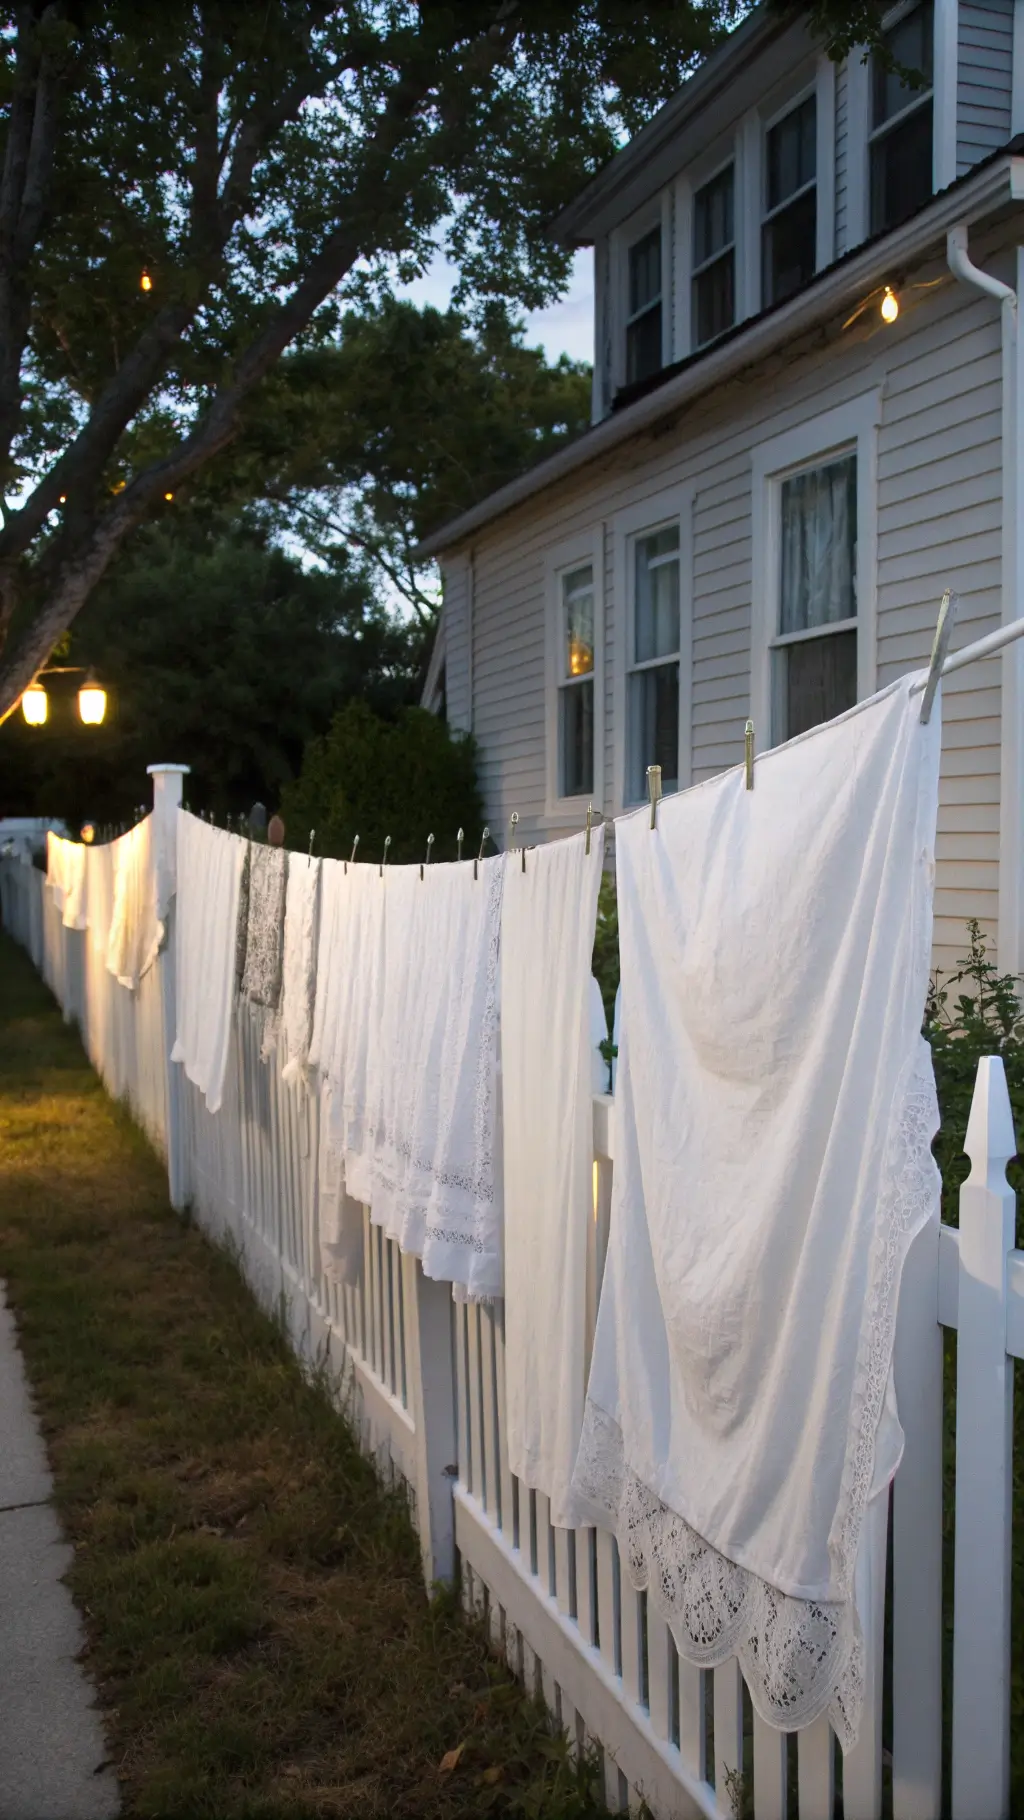
- Use garbage bags to create ghost silhouettes
- Spray paint old branches black
- Create DIY tombstones from foam board
- Use cheap white sheets for ghostly effects

🖼 Steal This Look
- Paint Color: use Behr brand. Match the ACTUAL wall color in the image. Format: Behr ColorName CODE
- Furniture: weathered wooden bench or vintage metal garden chair for displaying DIY decor
- Lighting: solar-powered pathway stake lights or battery-operated LED flicker candles in mason jars
- Materials: contractor garbage bags, flat black spray paint, rigid foam insulation board, thrifted white cotton sheets, jute twine
This is the approach I used when decorating my first rental porch with twenty dollars and a free afternoon, and the garbage bag ghosts I hung from the awning still get more compliments than store-bought pieces.
Pro Styling Techniques
Color and Texture Magic
- Stick to a consistent color palette: black, orange, purple
- Layer different textures: rough burlap, smooth plastic, gauzy fabrics
- Create depth by varying decoration heights
✎ Steal This Look
- Paint Color: use Valspar brand. Match the ACTUAL wall color in the image. Format: Valspar ColorName CODE
- Furniture: weathered wooden porch bench with distressed black finish
- Lighting: oversized black metal lantern with flickering LED candles
- Materials: rough burlap, matte black metal, weathered wood, gauzy cheesecloth, cracked ceramic
This approach transforms your front porch from a random collection of store-bought items into a curated, magazine-worthy scene that neighbors actually stop to photograph.
Setup Strategy
The Perfect Halloween Scene in 5 Steps
- Clear and clean your space
- Place large anchor pieces first (skeletons, tombstones)
- Add lighting elements
- Layer smaller decorations
- Secure everything against potential wind

🌟 Steal This Look
- Paint Color: use PPG brand. Match the ACTUAL wall color in the image. Format: PPG ColorName CODE
- Furniture: weather-resistant outdoor console table for staging smaller props
- Lighting: solar-powered LED pathway stakes with orange glow
- Materials: galvanized metal anchors, marine-grade rope, weighted sandbags, rust-resistant wire
There’s something deeply satisfying about walking your property at dusk, testing sightlines from the sidewalk, knowing you’ve built a moment of genuine wonder for every neighbor who passes by.
Safety and Practical Considerations
Must-Know Tips:
- Use outdoor-rated electrical items
- Secure lightweight decorations
- Keep walkways clear for trick-or-treaters
- Check local regulations about Halloween displays
★ Steal This Look
- Paint Color: use Dunn-Edwards brand. Match the ACTUAL wall color in the image. Format: Dunn-Edwards ColorName CODE
- Furniture: weatherproof resin storage bench with built-in deck box for hiding extension cords and timers
- Lighting: commercial-grade outdoor LED string lights with UL wet-location rating and grounded plugs
- Materials: heavy-gauge galvanized steel stakes, marine-grade bungee cords, and impact-resistant polycarbonate housings
Your front porch and yard are high-traffic zones on Halloween night, and nothing ruins the spooky mood faster than a decoration blowing into the street or a child tripping on an unseen cord—practical preparation lets you enjoy the evening instead of troubleshooting problems.
Budget Breakdown
Decoration Investment Levels:
- Budget: $20-$50
- Mid-Range: $50-$150
- Elaborate: $150-$400+

🏠 Steal This Look
- Paint Color: use Clare Paint brand. Match the ACTUAL wall color in the image. Format: Clare Paint ColorName CODE
- Furniture: weathered Adirondack chairs or a vintage metal bistro set for porch lounging
- Lighting: solar-powered Edison string lights with amber glass bulbs
- Materials: galvanized metal planters, burlap ribbon, dried corn husks, and matte black spray-painted branches
Your front porch is the first handshake your home offers the neighborhood—this is where a little strategic spending on lighting and texture pays emotional dividends every time you pull into the driveway.
🎁 Get The Look
Pro Creator Tips
For those wanting to share their Halloween magic online:
- Shoot during golden hour
- Use low angles for dramatic effect
- Create consistent color themes
- Use hashtags like #HalloweenDecor #SpookyPorch
🎨 Steal This Look
- Paint Color: Fine Paints of Europe Hollandlac Brilliant Black 7502
- Furniture: weathered farmhouse porch swing with iron chains, reclaimed barn wood planter boxes
- Lighting: vintage-style Edison bulb string lights with flicker-effect candles in black iron lanterns
- Materials: distressed wood, aged galvanized metal, dried corn husks, natural burlap, matte black iron
There’s something genuinely satisfying about nailing that one shot where the light hits just right and your porch looks like a movie set—it’s the reward for all those evenings arranging and rearranging until it feels exactly right.
Final Thoughts
Halloween outdoor decor is about creativity, fun, and letting your imagination run wild. Don’t stress about perfection—focus on enjoying the process and creating memories.
Pro Tip: Start collecting pieces after Halloween when everything goes on sale. You’ll build an amazing collection without breaking the bank.
Recommended Starter Kit
For beginners, I recommend this basic Halloween outdoor decoration starter set that includes essential pieces to get you started.
Happy haunting! 🎃