Budget-Friendly Patio Cover: DIY Shade Solutions That Won’t Break the Bank
Let’s be real – creating an awesome outdoor space doesn’t mean emptying your wallet. I’ve spent years transforming patios from bland to grand without spending a fortune, and I’m about to share my top budget-friendly patio cover secrets.
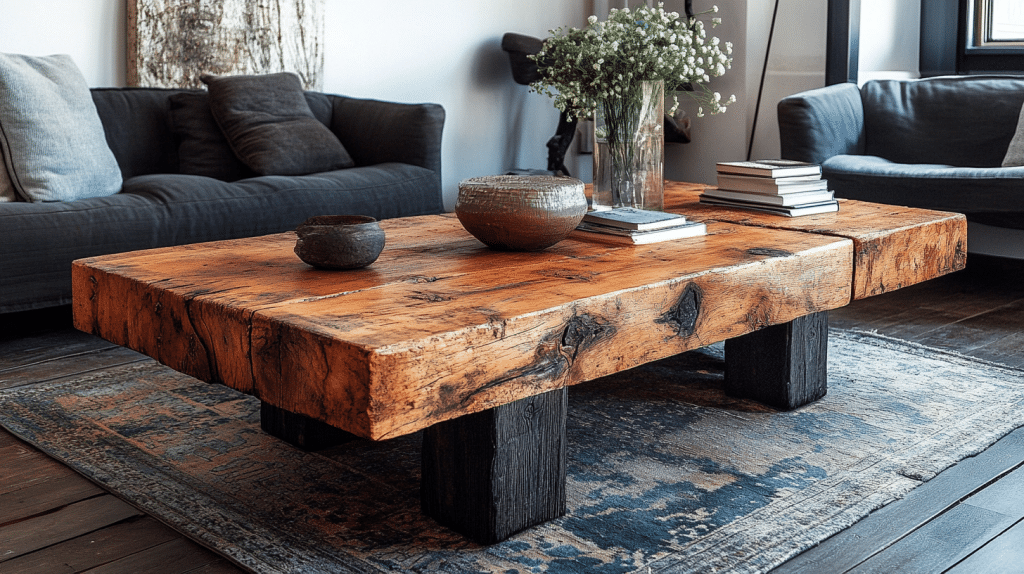
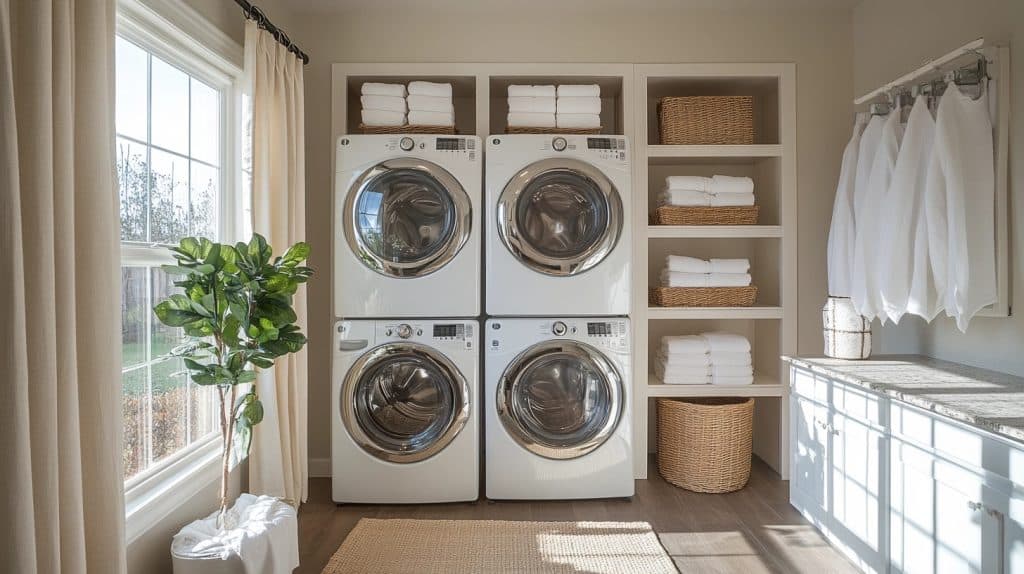
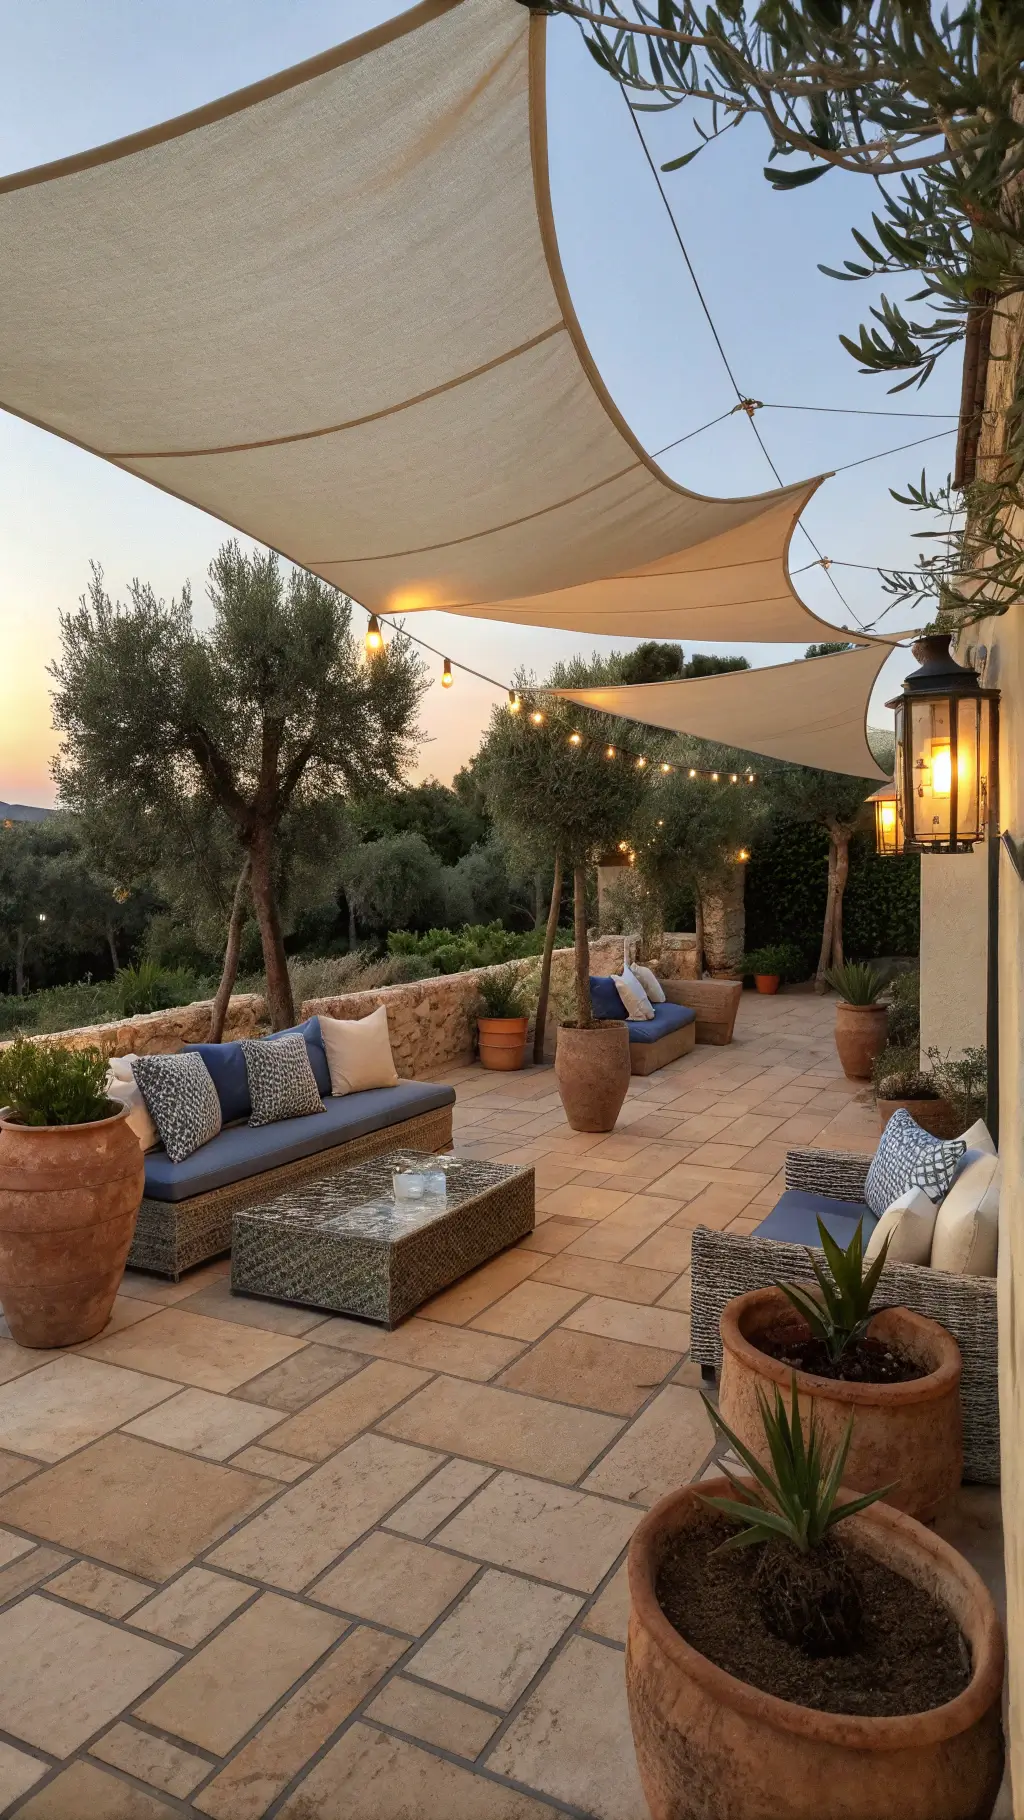
🖼 Steal This Look
- Paint Color: Sherwin-Williams Iron Ore SW 7069
- Furniture: IKEA ÄPPLARÖ drop-leaf table with 2 folding chairs in acacia
- Lighting: Luminary string lights with Edison bulbs on galvanized steel guide wire
- Materials: pressure-treated 4×4 posts, corrugated polycarbonate roofing panels, outdoor canvas drop cloths, sisal rope, galvanized hardware
I built my first patio cover with $87 in lumber and a free weekend – it transformed how my family actually uses our backyard, and honestly, the DIY imperfections give it more character than anything store-bought.
Why Patio Covers Matter
Imagine having a beautiful outdoor retreat that:
- Protects you from harsh sun
- Adds style to your home
- Creates an extra living space
- Increases your property’s appeal
Quick Budget Reality Check:
- Most covers cost between $50-$500
- Most DIY projects take just a weekend
- No professional skills required

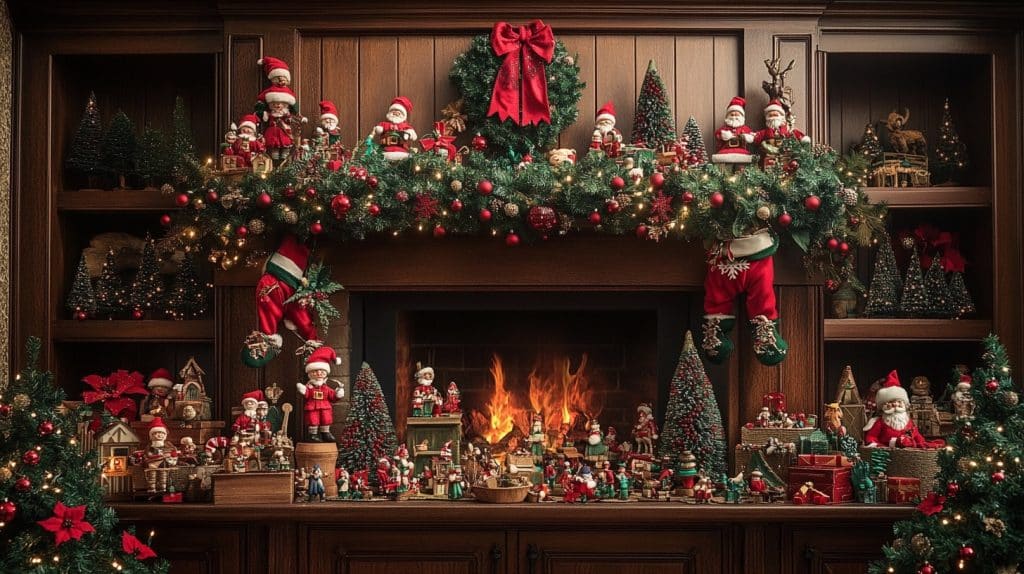
✎ Steal This Look
- Paint Color: Benjamin Moore Kendall Charcoal HC-166
- Furniture: polywood Adirondack chairs with matching side table
- Lighting: string lights with Edison bulbs draped overhead
- Materials: pressure-treated lumber posts, corrugated polycarbonate roofing, galvanized steel hardware
I’ve watched too many homeowners skip the cover entirely and regret it by July, when their gorgeous new patio furniture has faded to mismatched pastels and sitting outside feels like a punishment.
Top Budget-Friendly Patio Cover Options
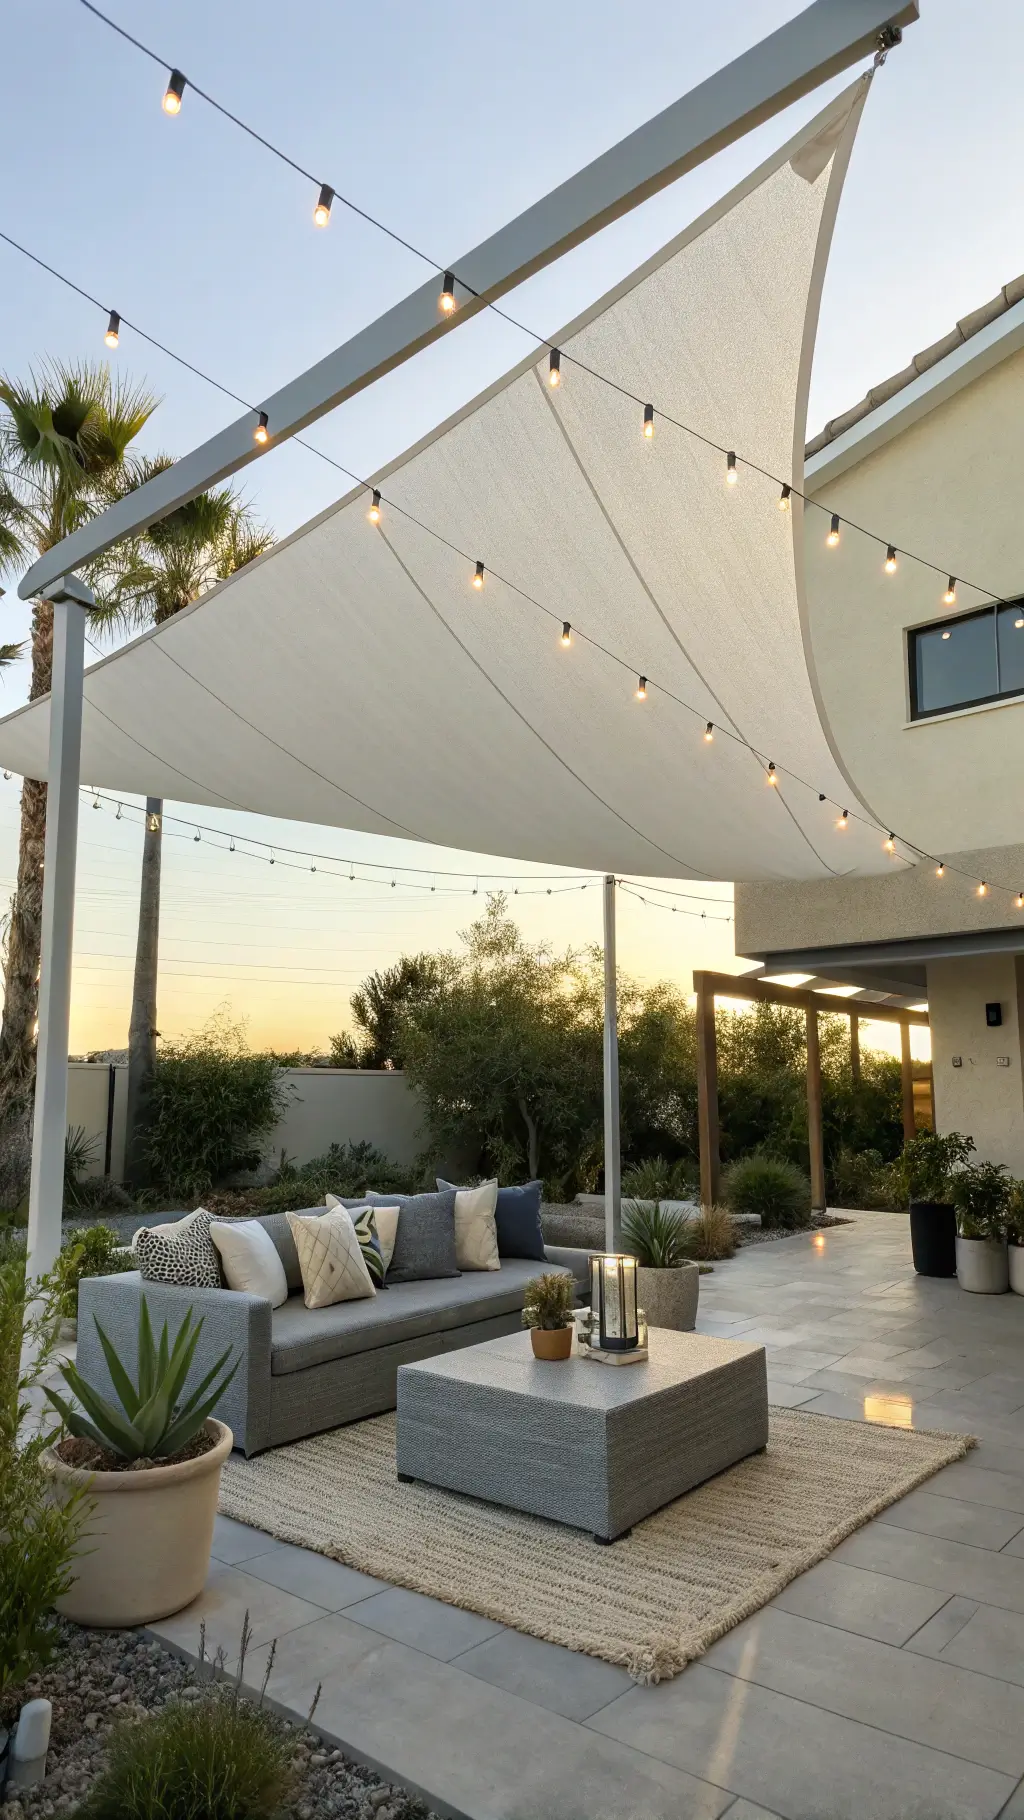
1. Fabric Sail Covers
Cost: $25-$100
Difficulty: Super Easy
Pros:
- Lightweight
- Multiple color options
- Quick installation
- Removable for seasons
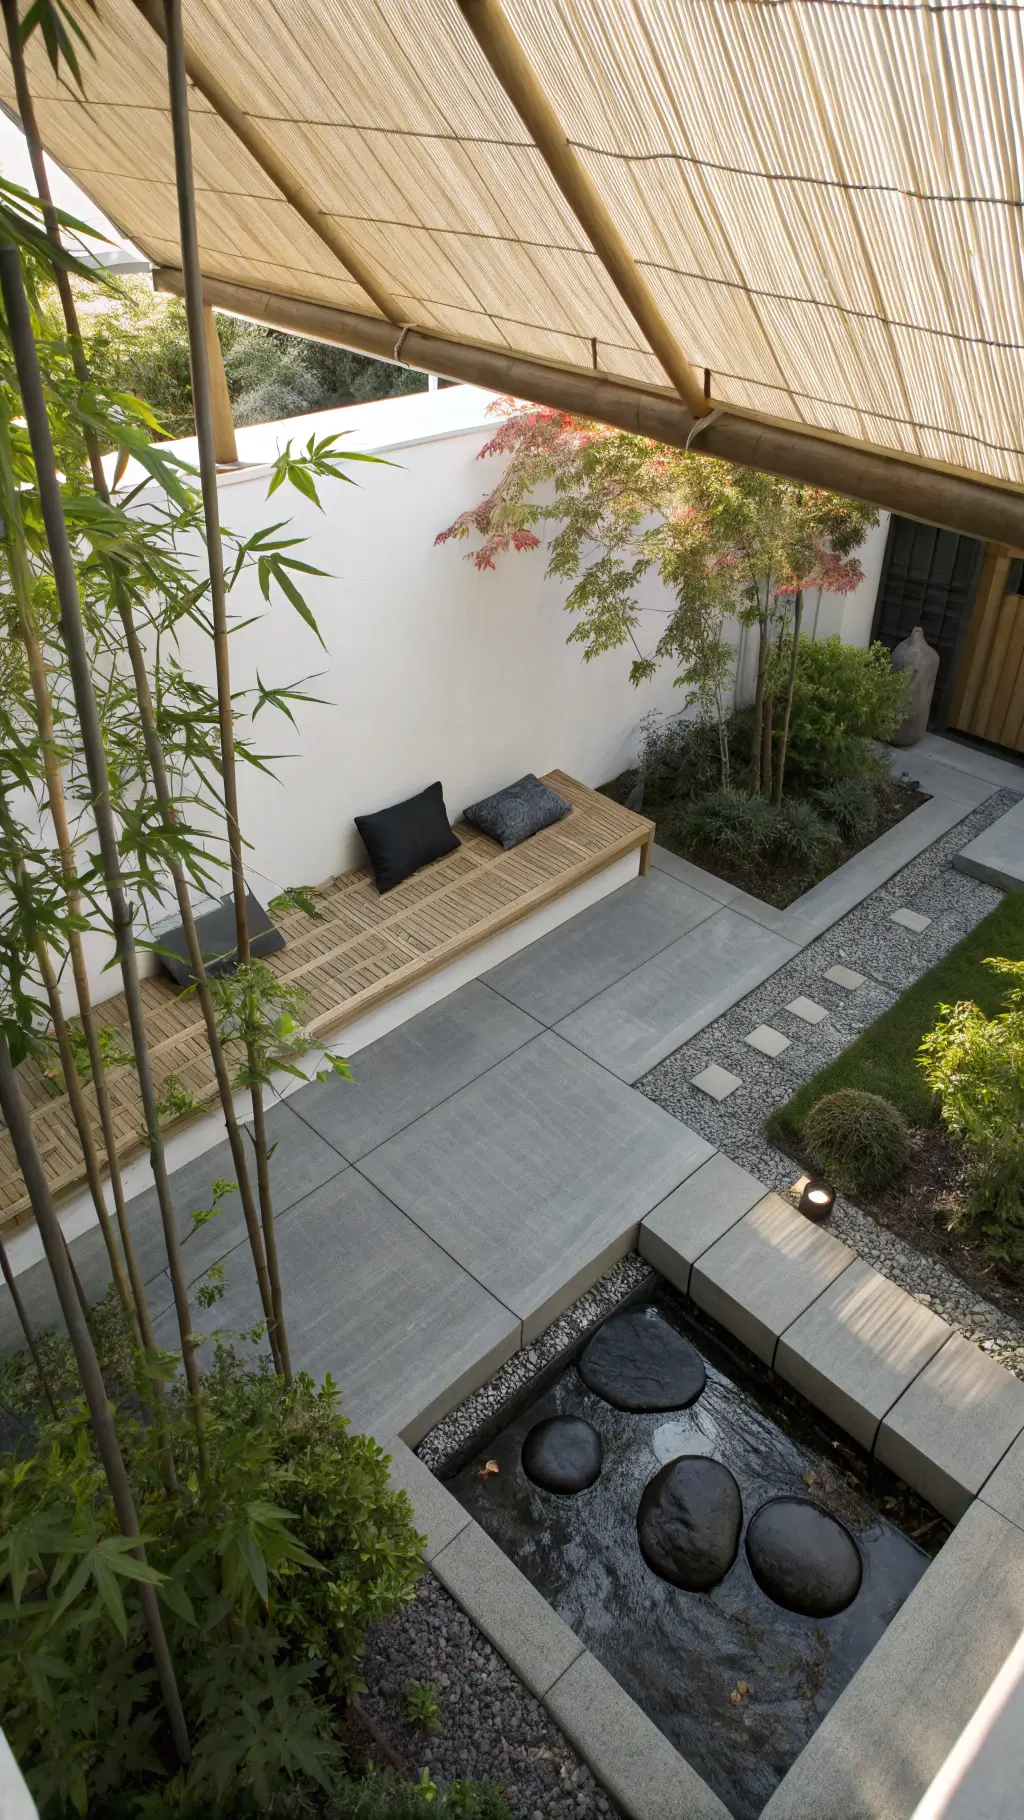
2. Bamboo Reed Mat Covers
Cost: $30-$75
Difficulty: Beginner
Pros:
- Instant tropical vibe
- Natural materials
- Versatile mounting options
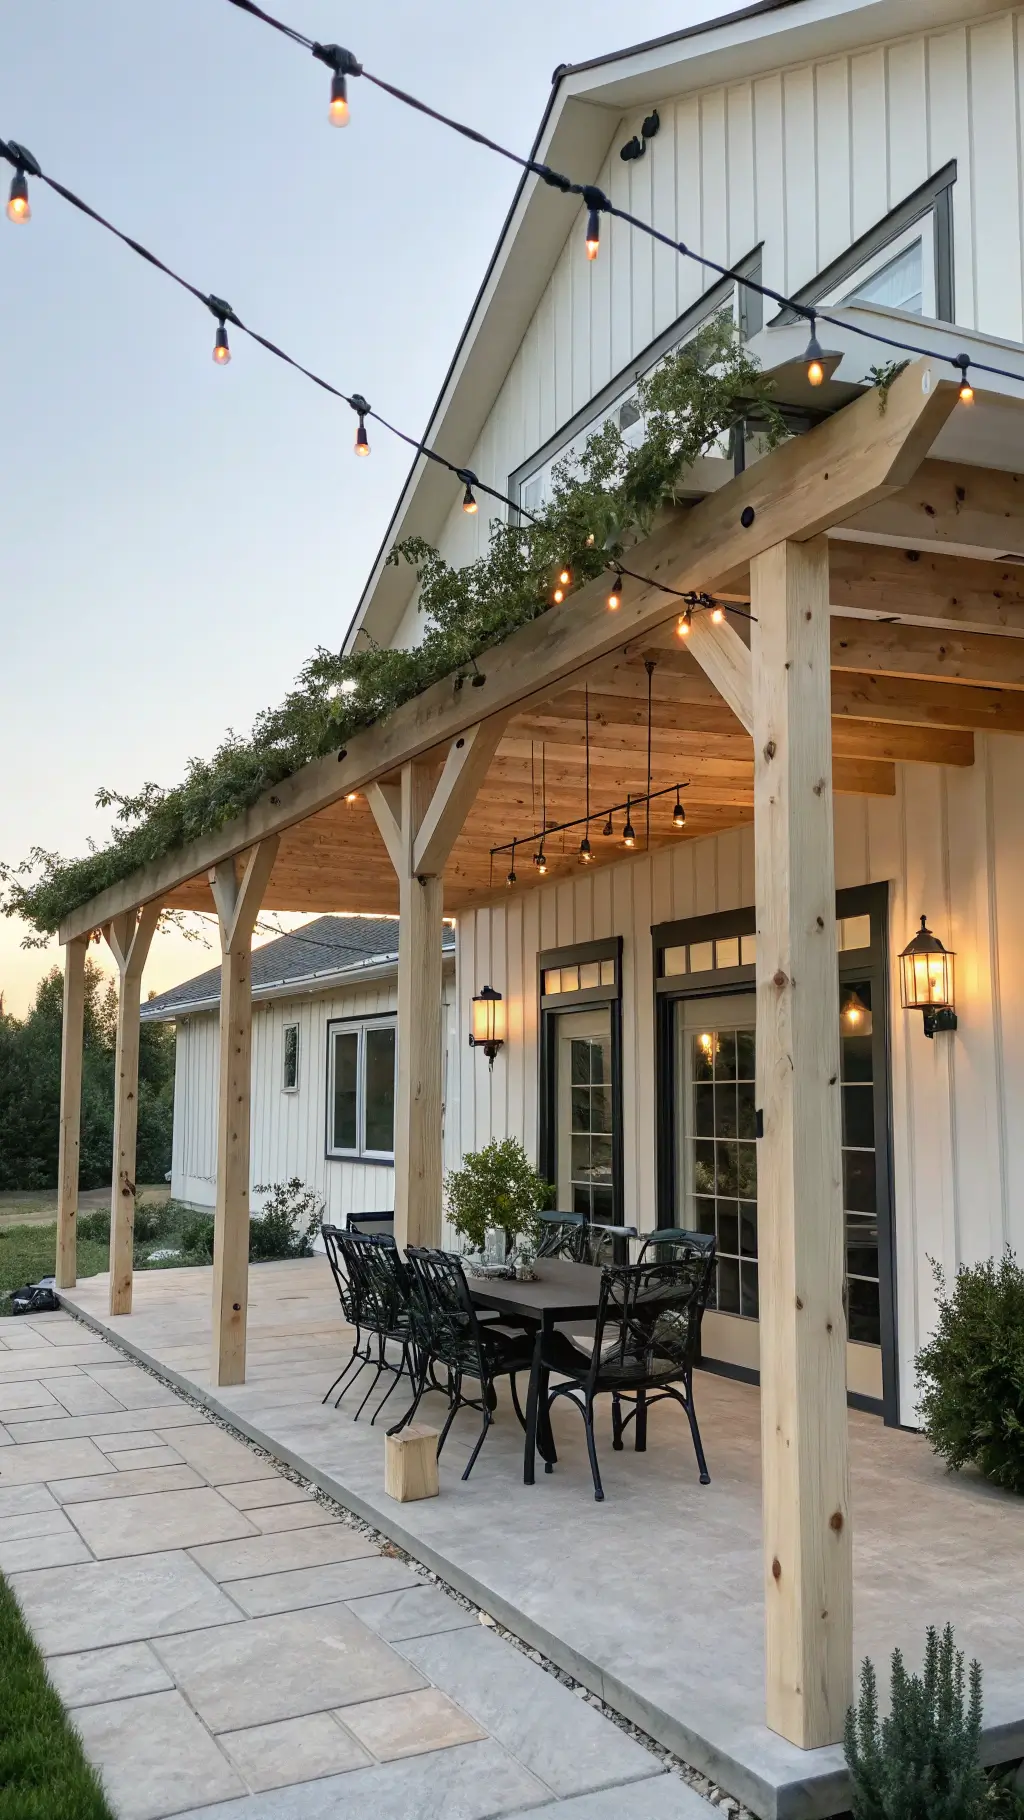
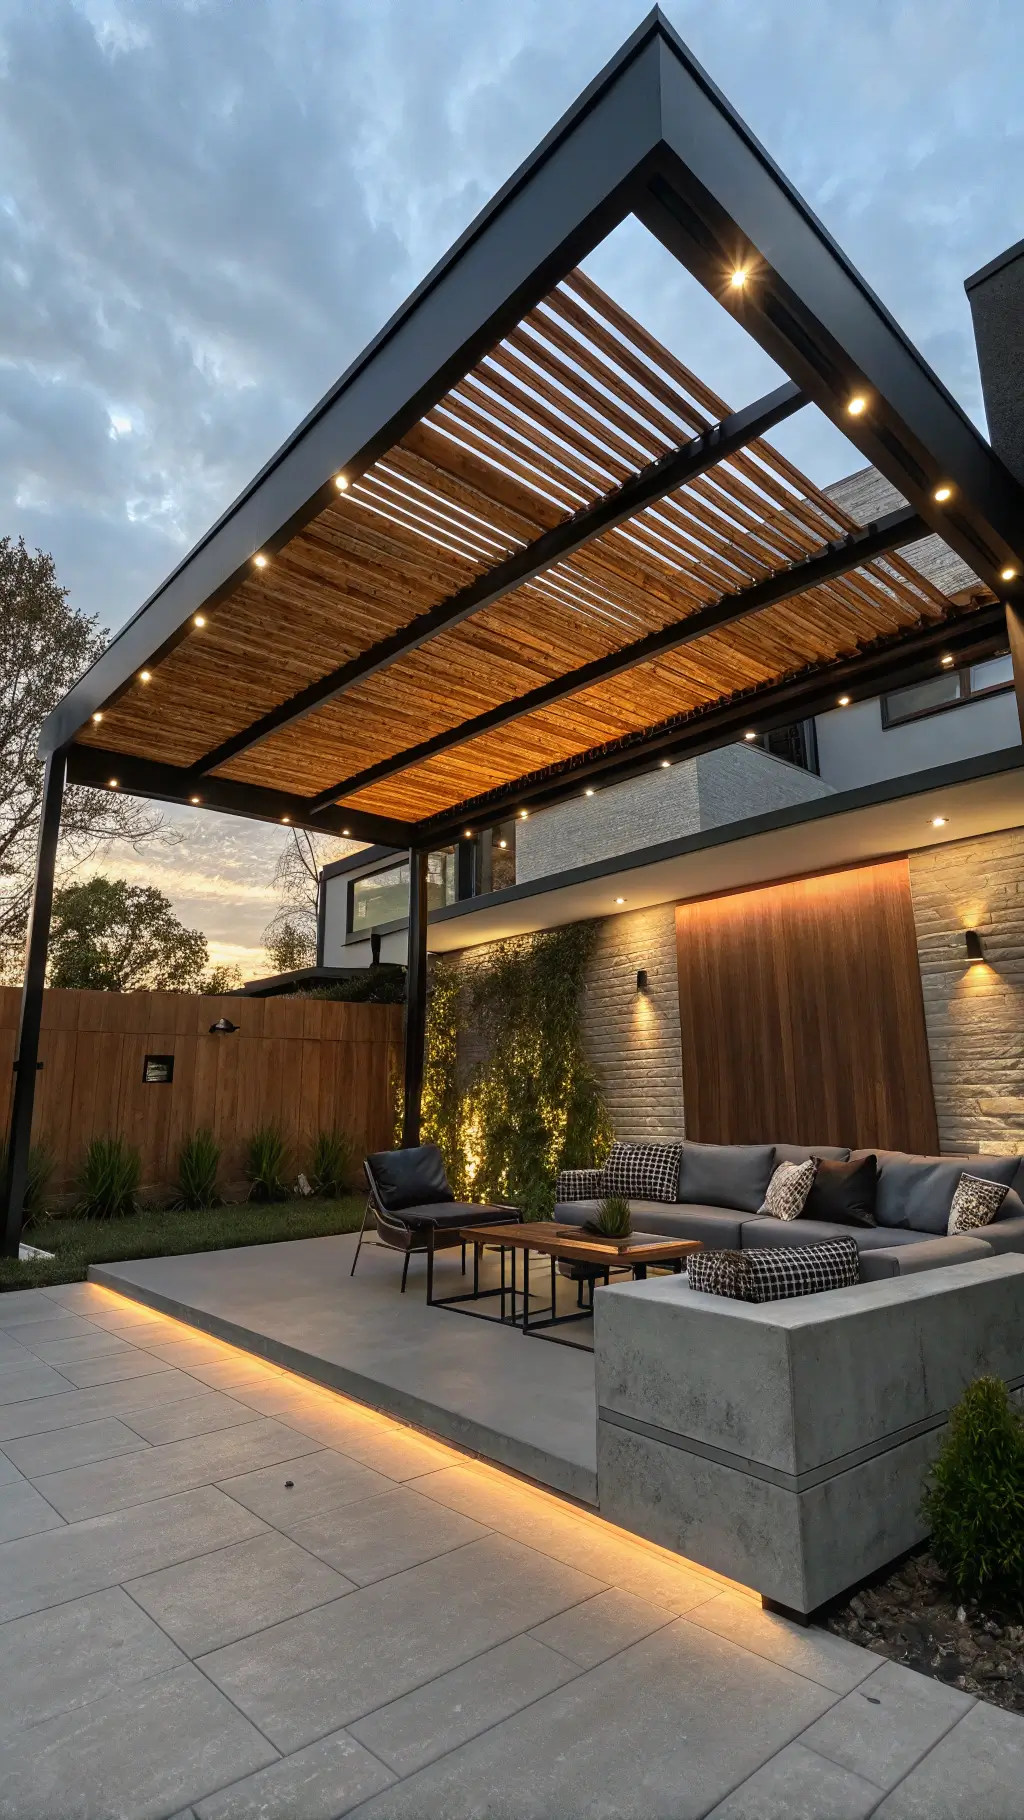
3. DIY Wooden Lean-To
Cost: $150-$300
Difficulty: Intermediate
Pros:
- Permanent solution
- Robust weather protection
- Customizable design
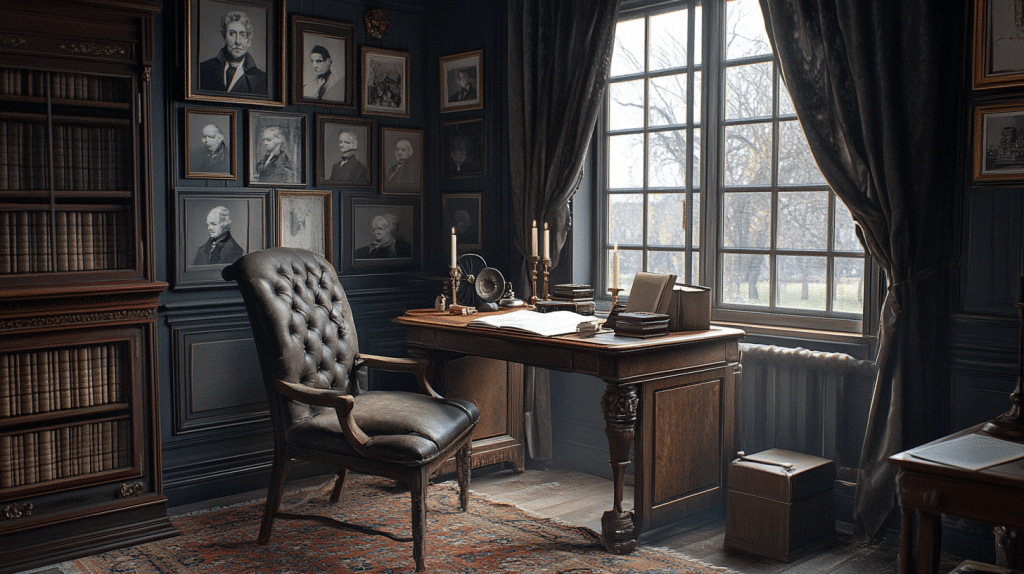
🏠 Steal This Look
- Paint Color: Farrow & Ball Mouse’s Back 40
- Furniture: weathered teak Adirondack chairs with canvas cushions
- Lighting: string lights with black rubber cable and Edison bulbs
- Materials: natural cedar posts, galvanized steel hardware, Sunbrella canvas, jute rope detailing
This is the patio setup I wish I’d started with instead of blowing $800 on a prefab metal gazebo that rusted in two years—these modular solutions let you adapt as your space evolves.
Smart Installation Tips
Before You Start:
- Measure your space precisely
- Check local building codes
- Gather all materials first
- Have basic tools ready
Must-Have Tools
- Drill
- Measuring tape
- Level
- Screwdriver
- Safety glasses
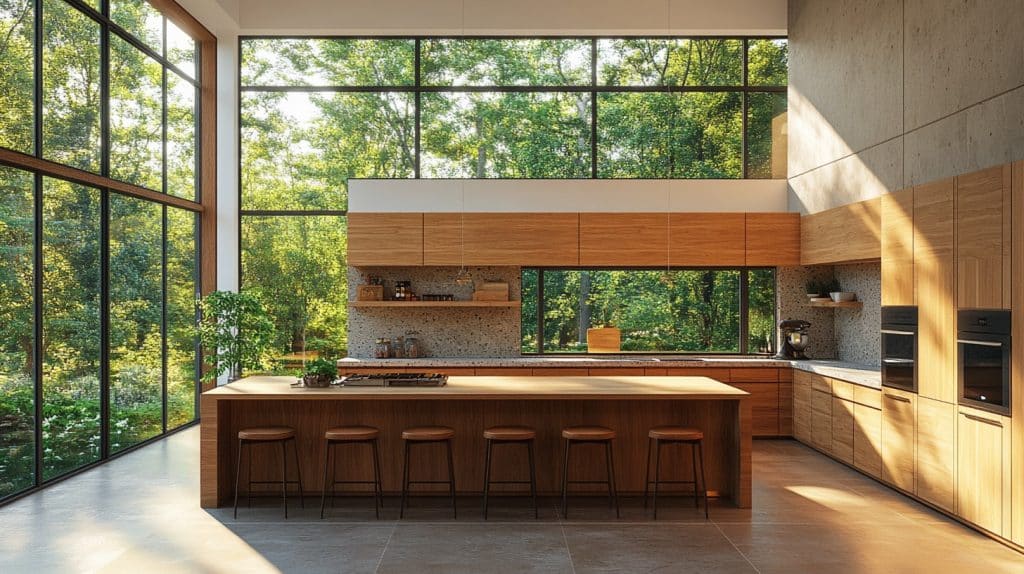
🎨 Steal This Look
- Paint Color: Behr Starless Night PPU14-20
- Furniture: folding aluminum work table with built-in power strip
- Lighting: LED headlamp with adjustable beam for hands-free precision work
- Materials: powder-coated aluminum fasteners, pressure-treated lumber, galvanized steel brackets, weatherproof silicone sealant
There’s something deeply satisfying about standing back at dusk, cold drink in hand, knowing you built shelter with your own hands—this is the section that gets you there without the 9 PM hardware store panic.
Design Tricks for Maximum Impact
Style Hacks:
- Choose light, reflective colors
- Layer textures
- Add outdoor string lights
- Use potted plants for natural accents
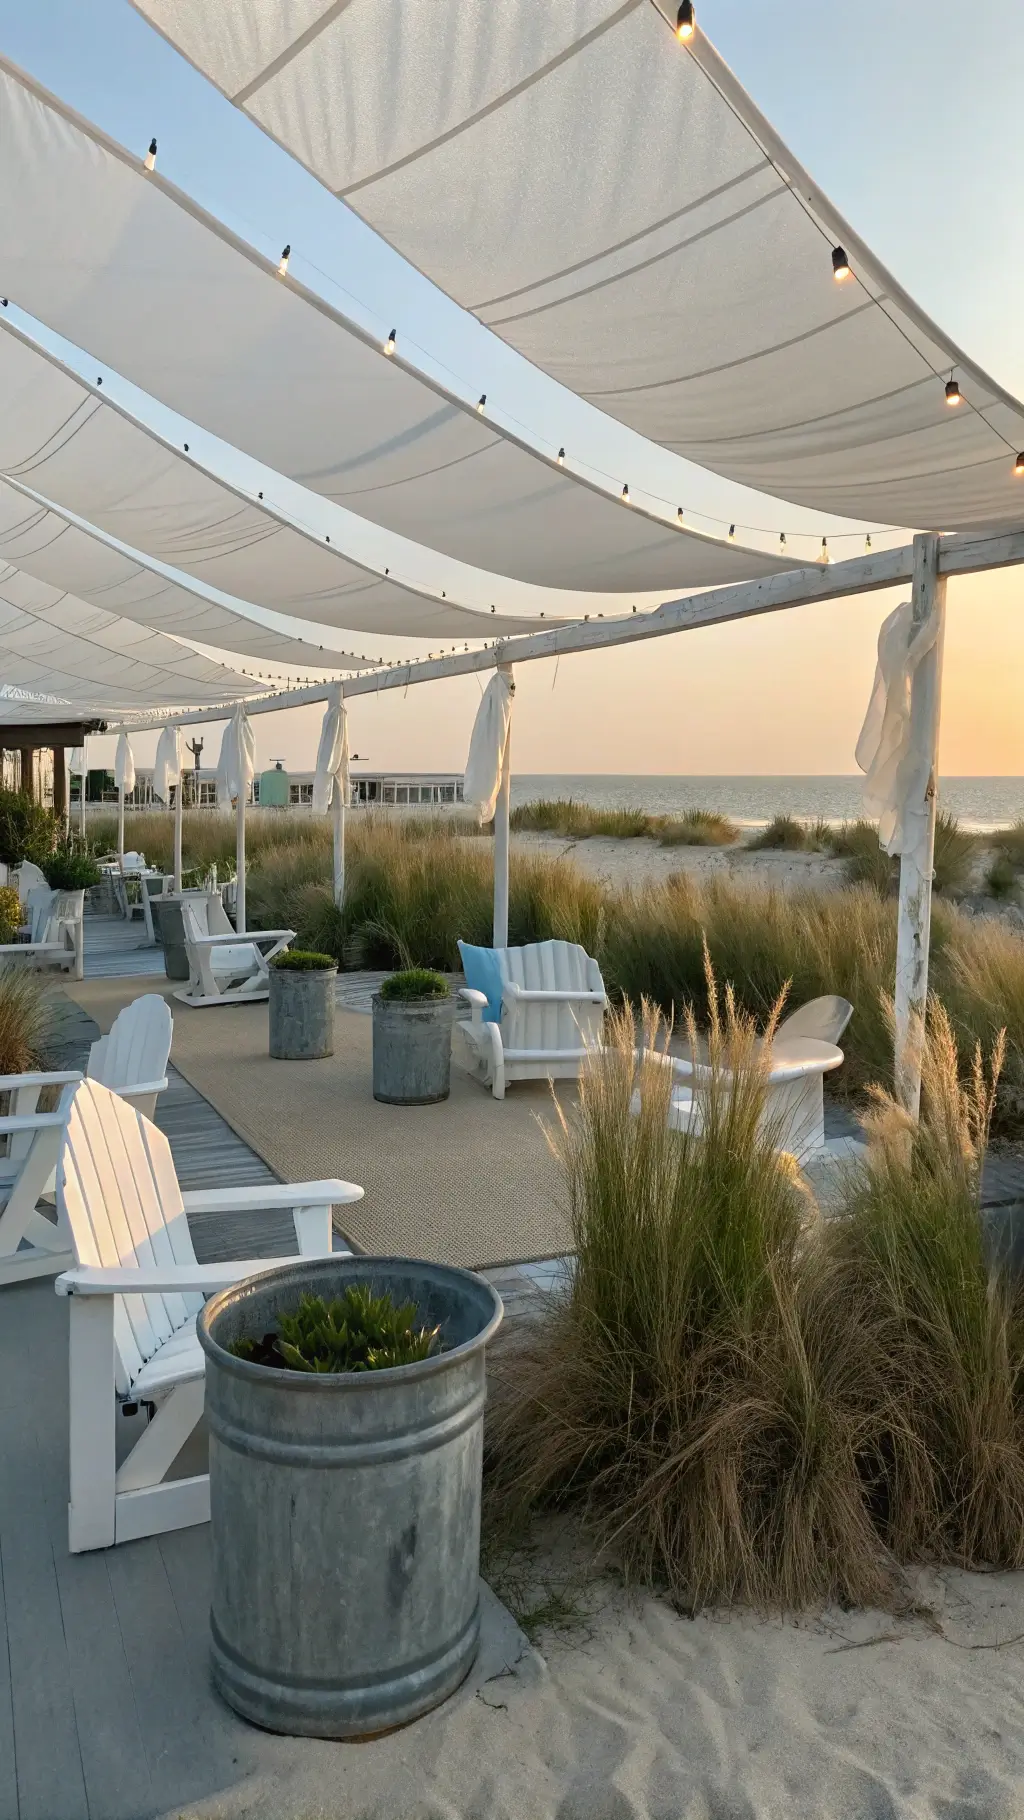
🎨 Steal This Look
- Paint Color: use Valspar brand. Match the ACTUAL wall color in the image. Format: Valspar ColorName CODE
- Furniture: weathered gray Adirondack chairs with wide slat backs
- Lighting: black cafe string lights with Edison bulbs
- Materials: woven seagrass, whitewashed cedar, galvanized metal
This is the patio setup that finally made me stop apologizing when neighbors walked by—turns out a $40 string light investment and some strategic plant placement reads as ‘intentional designer space’ rather than ‘afterthought concrete slab’.
Common Mistakes to Avoid
❌ Don’t:
- Skimp on structural support
- Ignore wind resistance
- Choose style over functionality
- Forget waterproofing
✅ Do:
- Invest in quality anchoring
- Consider year-round usage
- Match your home’s existing aesthetic
- Plan for easy maintenance
🎨 Steal This Look
- Paint Color: use PPG brand. Match the ACTUAL wall color in the image. Format: PPG Stonehenge Greige PPG1001-4
- Furniture: Keter Unity XL resin storage cabinet with built-in countertop for concealed tool and cushion storage
- Lighting: LITOM 12 LED solar motion sensor security lights for perimeter mounting on support posts
- Materials: powder-coated aluminum framing, polycarbonate roof panels, galvanized steel post anchors, textured composite decking
I’ve seen too many homeowners rush the foundation phase only to watch their beautiful pergola lean like the Tower of Pisa after the first spring storm—taking an extra weekend to anchor properly saves years of regret.
Budget Breakdown
| Cover Type | Cost Range | Installation Time | Durability |
|---|---|---|---|
| Fabric Sail | $25-$100 | 2-4 hours | 1-3 seasons |
| Bamboo Mat | $30-$75 | 1-2 hours | 2-4 seasons |
| Wood Lean-To | $150-$300 | Full weekend | 5-10 years |
🌟 Steal This Look
- Paint Color: Dunn-Edwards Whisper White DEW 340
- Furniture: folding acacia wood bistro set with weathered gray finish
- Lighting: solar-powered Edison bulb string lights with black cable
- Materials: natural bamboo slats, marine-grade canvas, galvanized steel hardware, concrete deck blocks
I’ve installed all three of these covers in my own backyard over the years, and the bamboo mat remains my favorite weekend project—it’s forgiving if you measure wrong and creates that instant vacation vibe without the vacation budget.
Pro Money-Saving Tips
- Shop end-of-season sales
- Use reclaimed or salvaged materials
- Compare multiple supplier prices
- Consider multi-purpose materials
- Do partial DIY (hire help for complex parts)
🌟 Steal This Look
- Paint Color: use Clare Paint brand. Match the ACTUAL wall color in the image. Format: Clare Paint ColorName CODE
- Furniture: specific furniture for this room
- Lighting: specific lighting fixture
- Materials: key textures and materials
I’ve watched too many homeowners blow their budget on premium cedar when reclaimed barn wood or factory-second metal roofing delivers the same weather protection at a fraction of the cost—sometimes the smartest splurge is hiring a pro for just the tricky parts.
Final Thoughts
Creating a stunning patio cover doesn’t require a massive budget – just creativity, some basic skills, and smart planning. Your outdoor space is waiting to become something special.
Your Next Steps:
- Measure your space
- Choose your style
- Gather materials
- Start your weekend project!
Remember: The best outdoor spaces tell a story. Make yours memorable, comfortable, and uniquely yours.