Hey there, kitchen enthusiasts! Let’s talk about the unsung hero of kitchen design – the backsplash.
It’s not just a practical wall covering; it’s your kitchen’s personality statement.
🖼 Steal This Look
- Paint Color: Sherwin-Williams Agreeable Gray SW 7029
- Furniture: white shaker base cabinets with brushed brass pulls, open walnut floating shelves
- Lighting: schoolhouse pendant lights with aged brass finish over the island
- Materials: handcrafted zellige tile in warm terracotta, honed Carrara marble countertops, unlacquered brass fixtures
There’s something deeply satisfying about a backsplash that catches the morning light just right—it’s the detail guests always touch and ask about, the quiet signature that makes your kitchen feel unmistakably yours.
Why Your Backsplash Matters
Imagine walking into a kitchen that looks like it jumped straight out of a design magazine. That’s the power of a killer backsplash. It’s more than just protection from cooking splatters – it’s your kitchen’s visual centerpiece.
🖼 Steal This Look
- Paint Color: Benjamin Moore Chantilly Lace OC-65
- Furniture: open shelving with brass brackets flanking the range
- Lighting: schoolhouse pendant with aged brass finish over the island
- Materials: handmade zellige tile in warm white, honed Carrara marble countertop, unlacquered brass hardware
I always tell clients to touch their tile samples at different times of day—kitchens are hardworking spaces, and your backsplash should feel as good under your fingertips as it looks catching morning light over your coffee ritual.
Top Materials That Will Rock Your Kitchen in 2025
1. Ceramic Tiles: The Reliable Superstar
- Budget-friendly
- Endless color options
- Practically indestructible
- Easy DIY installation
2. Quartz Slabs: Sleek and Sophisticated
- Seamless, modern look
- Virtually maintenance-free
- Uniform color patterns
- Extremely durable
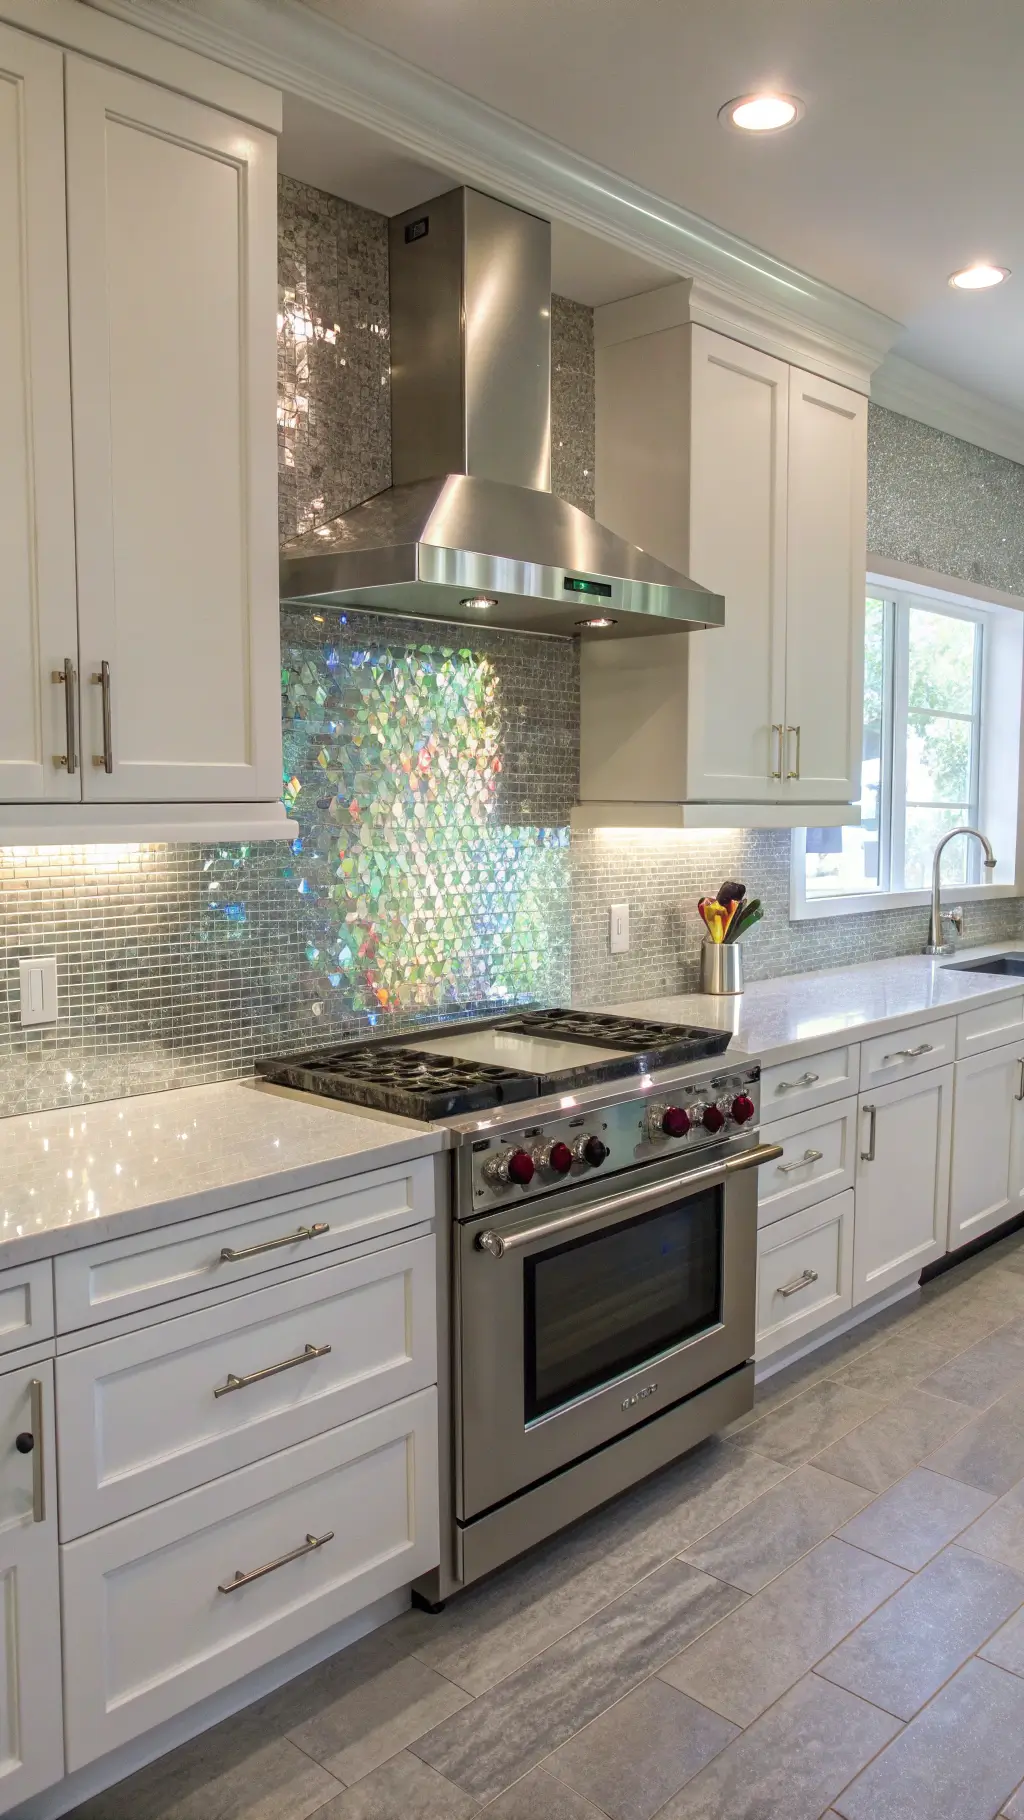
3. Glass Tiles: The Light Magician
- Reflects light beautifully
- Super easy to clean
- Creates illusion of more space
- Perfect for smaller kitchens
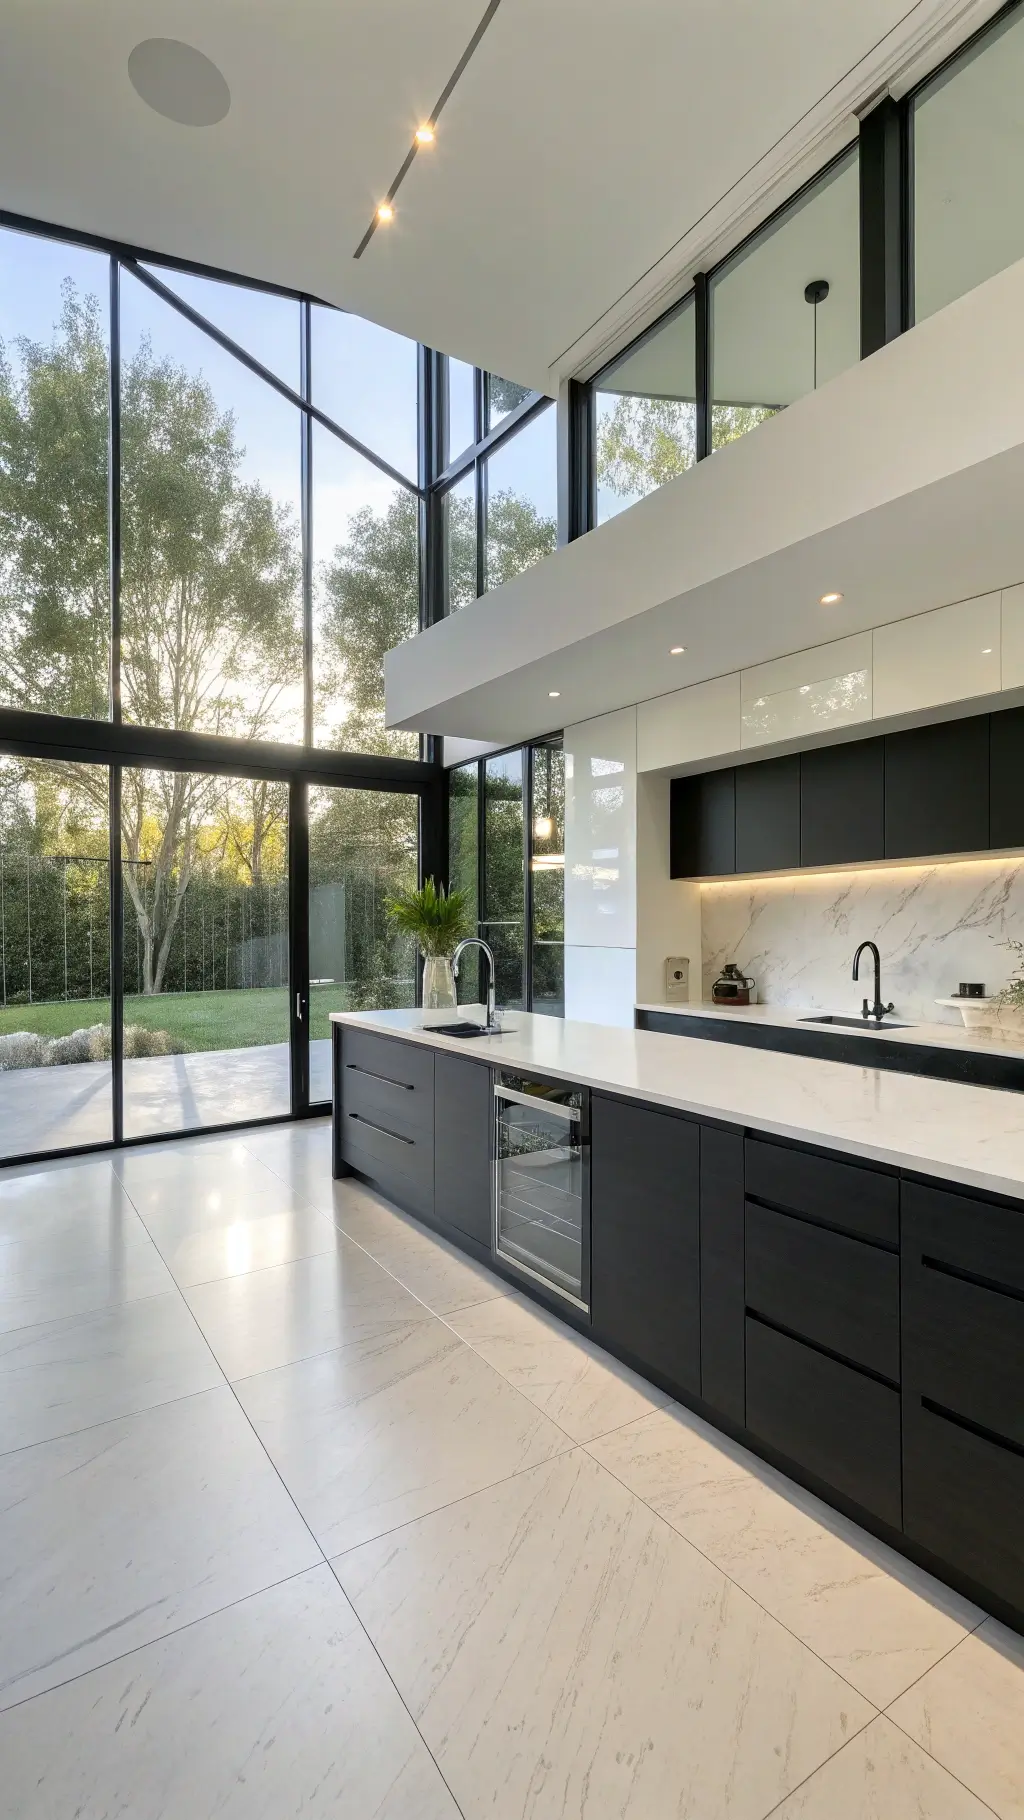
★ Steal This Look
- Paint Color: Farrow & Ball Drop Cloth No. 283
- Furniture: floating open shelving in white oak with black steel brackets
- Lighting: linear LED pendant with frosted glass diffuser in matte black finish
- Materials: handmade zellige ceramic tile with undulating surface, brushed brass hardware, honed Carrara marble countertop with subtle grey veining
Your backsplash is the jewelry of your kitchen—it’s the one place where you can be bold without the commitment of a full renovation, and these materials let you express whether you’re quietly sophisticated or unapologetically dramatic.
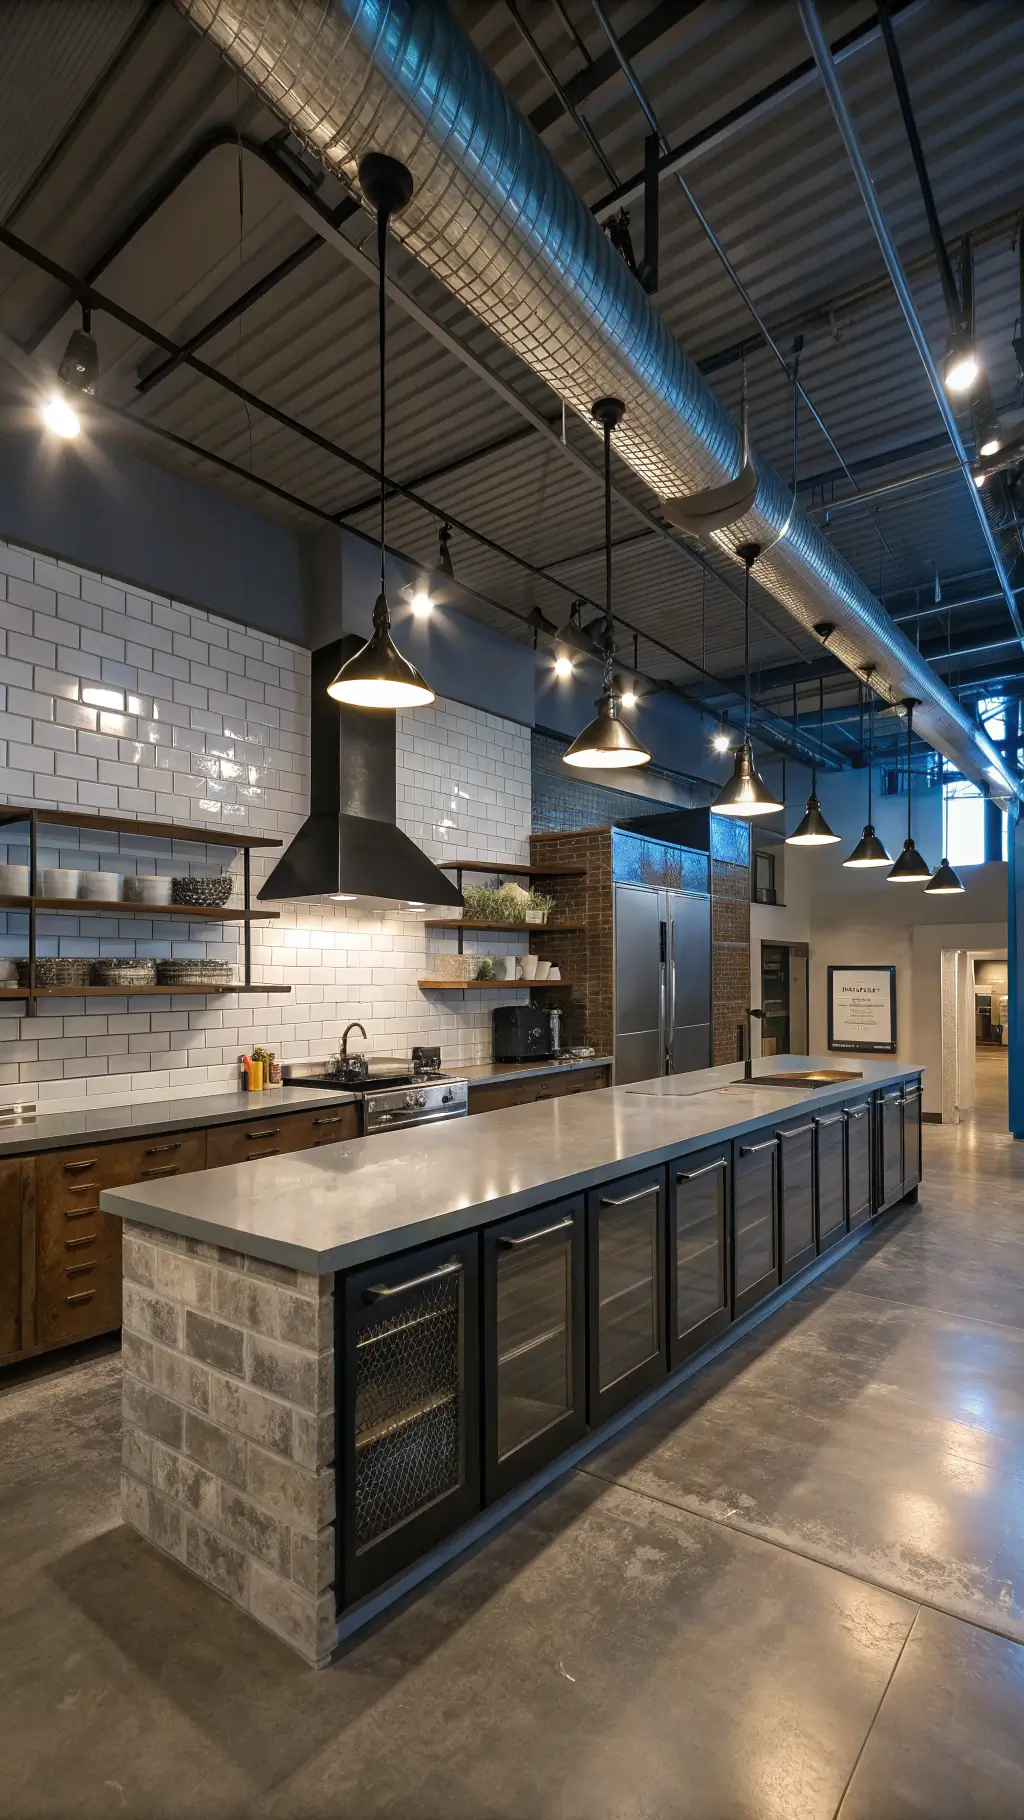
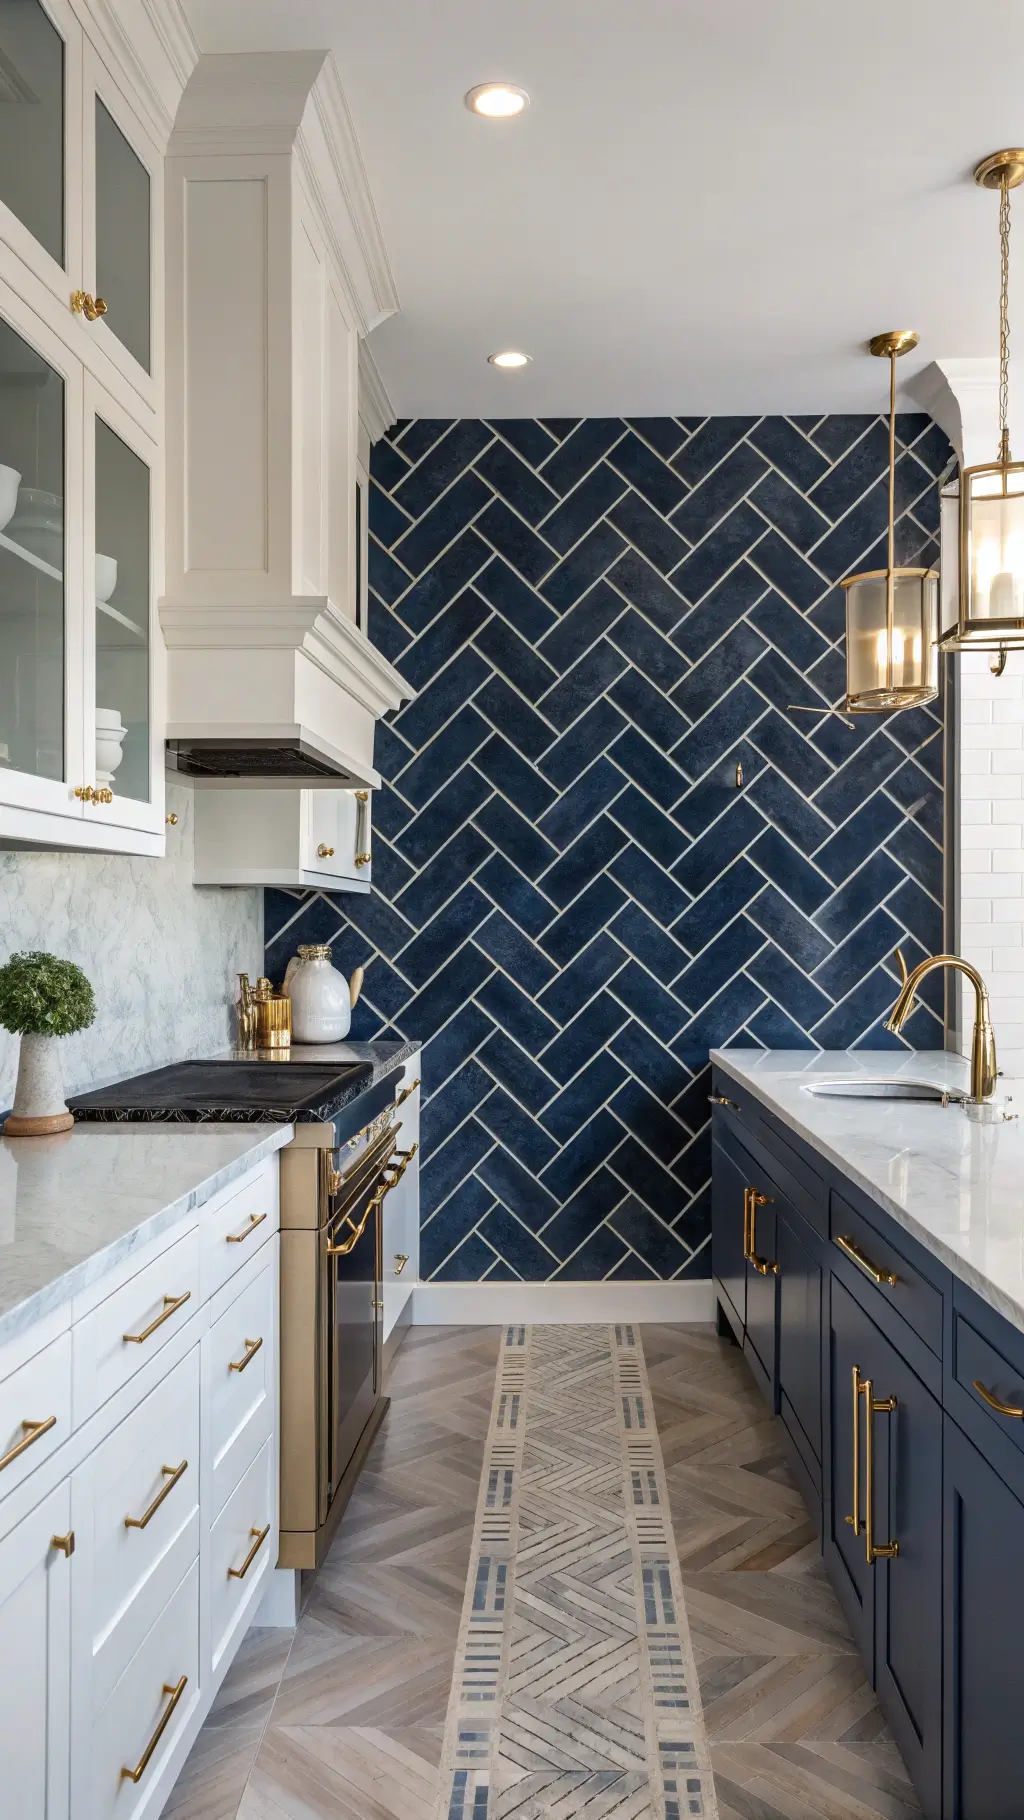
Trend Alert: Design Styles That Will Turn Heads
Retro Revival:
Think handcrafted ceramics with earthy tones and vintage vibes.

Subway Tiles 2.0:
Not your grandma’s white tiles anymore. We’re talking:
- Vertical layouts
- Herringbone patterns
- Bold, unexpected colors
- Contrasting grout
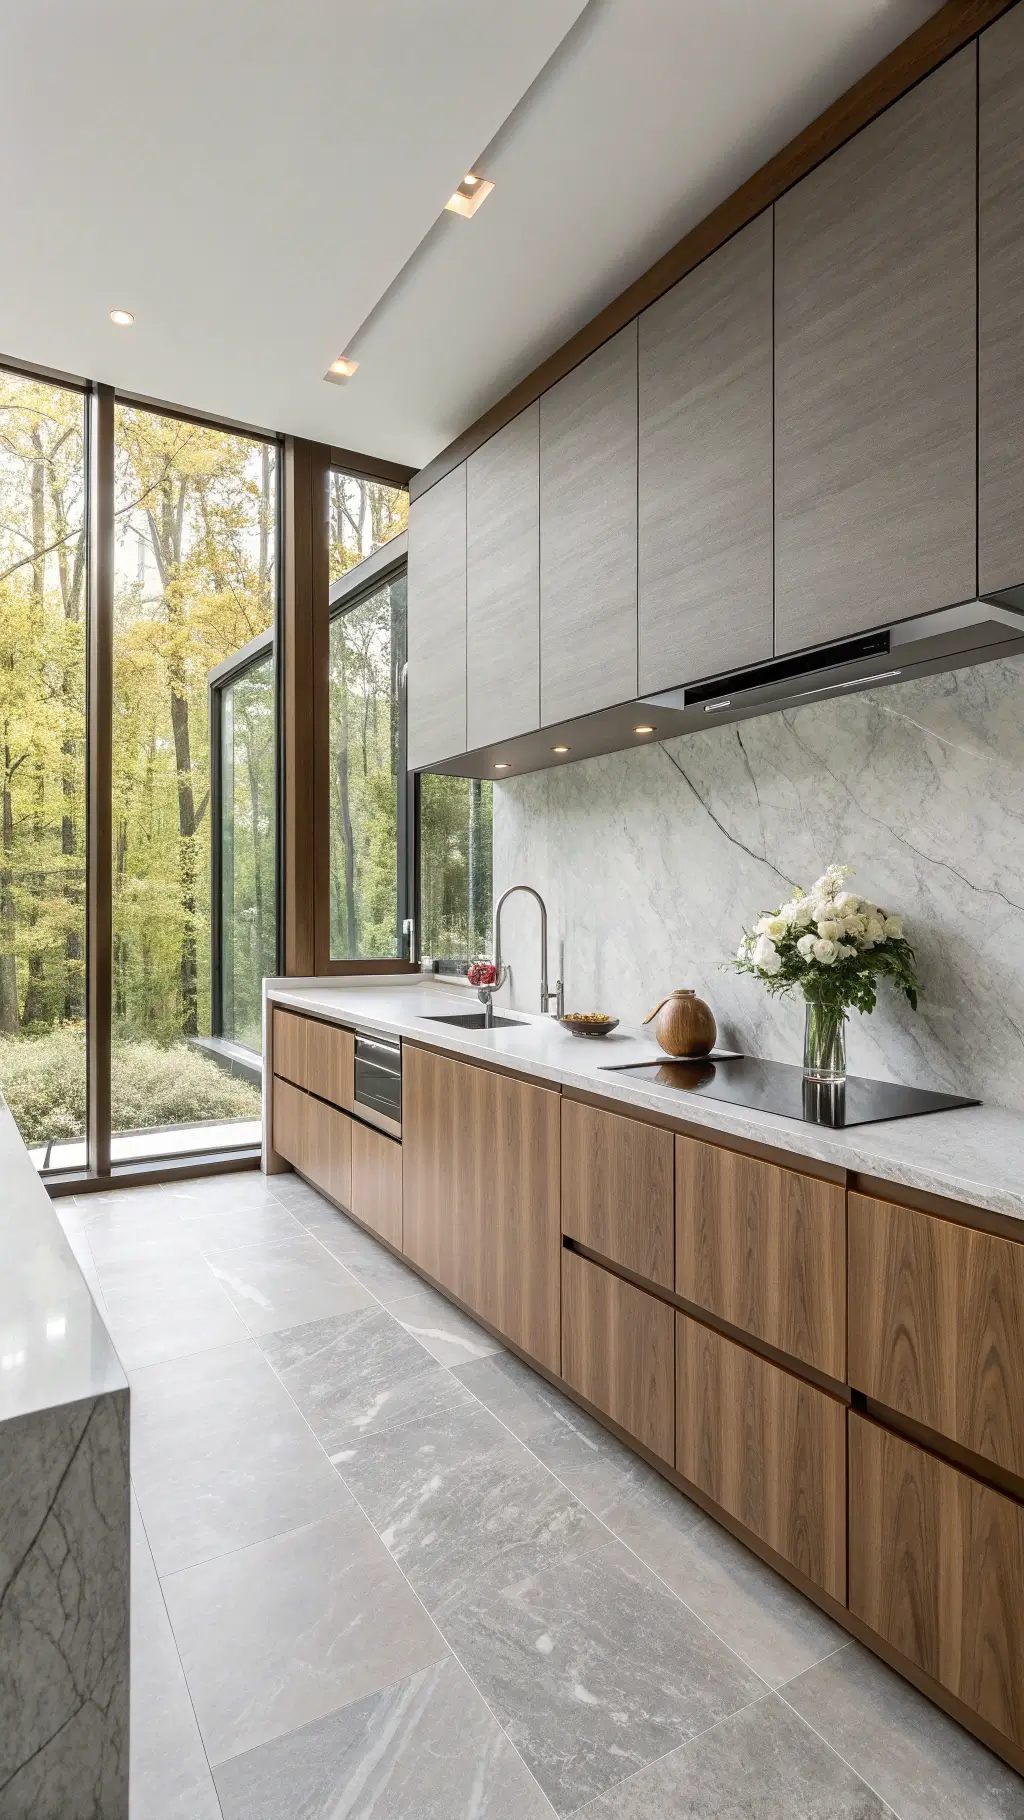
Minimalist Chic:
- Muted neutrals
- Half-height backsplashes
- Seamless slab designs
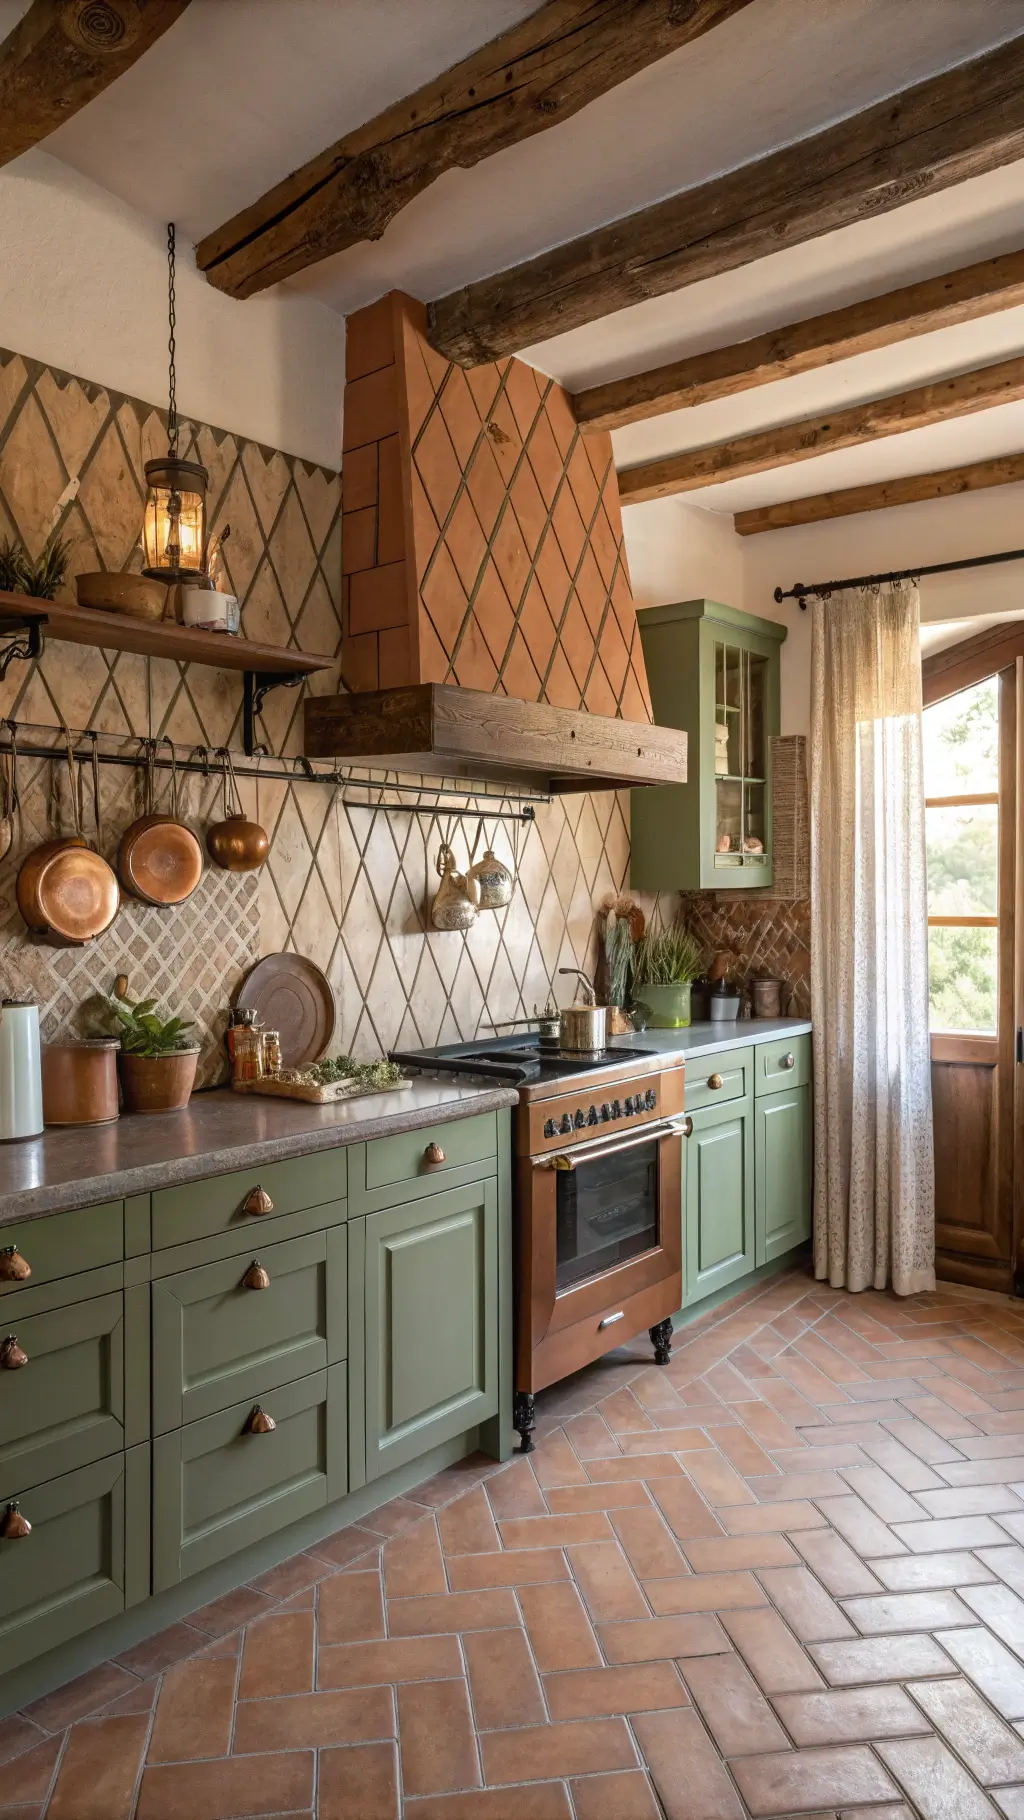
🏠 Steal This Look
- Paint Color: Behr Burnished Clay N230-4
- Furniture: Reclaimed wood open shelving with black iron brackets, vintage-inspired ceramic canisters
- Lighting: Schoolhouse pendant lights in aged brass finish
- Materials: Handmade zellige tiles with undulating surfaces, matte black fixtures, warm terracotta accents
There’s something deeply satisfying about walking into a kitchen that feels collected over time rather than installed overnight—these trending styles let you tell that story without the decades of hunting.
Pro Styling Secrets
Want to make your backsplash pop? Here’s how:
- Play with grout colors
- Mix unexpected textures
- Create visual contrast
- Consider your cabinet colors
✎ Steal This Look
- Paint Color: use Valspar brand. Match warm white kitchen walls. Format: Valspar Swiss Coffee 7002-16
- Furniture: open shelving in natural oak with black metal brackets
- Lighting: pendant lights with seeded glass shades in aged brass finish
- Materials: handmade zellige tile, honed marble countertop, brushed brass hardware, natural linen textiles
This is the room where you’ll spend countless mornings brewing coffee and evenings prepping dinner—your backsplash should feel like a backdrop you never tire of, not a trendy statement you’ll regret in two years.
✅ Get The Look
Budget-Friendly Hacks
Not ready for a full renovation? No problem!
- Peel-and-stick tiles
- Temporary wallpaper
- Paint with special kitchen-grade paint
- Open shelving to break up the visual space
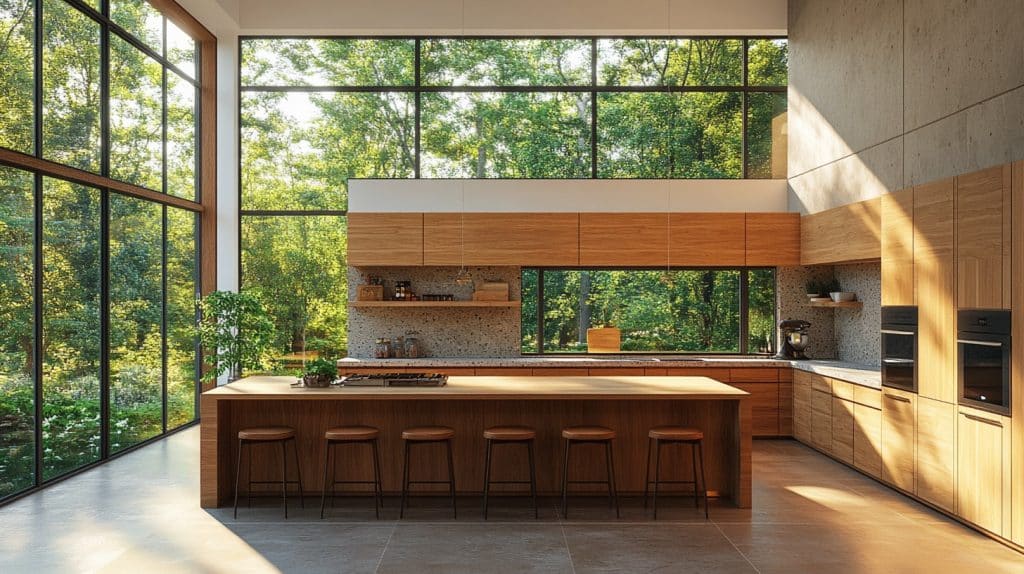
💡 Steal This Look
- Paint Color: use PPG brand. Match the ACTUAL wall color in the image. Format: PPG ColorName CODE
- Furniture: floating wood shelves in warm oak or walnut finish, 10-12 inches deep, mounted with hidden brackets
- Lighting: LED under-cabinet strip lighting, warm white 2700K, plug-in with dimmer
- Materials: peel-and-stick subway tile in matte white or soft gray, temporary wallpaper with geometric or botanical pattern in muted tones, satin-finish kitchen-grade paint in scrubbable formula
This approach lets you test-drive bold patterns without commitment—perfect if you’re renting or saving for the dream renovation down the road.
Quick Wins for Different Kitchen Styles
- Modern Minimalist: Large format tiles, solid colors
- Rustic Charm: Handmade ceramics, natural stone
- Industrial Edge: Metal tiles, concrete-look surfaces
Installation Pro Tips
- Measure twice, install once
- Use waterproof adhesives
- Consider professional help for complex designs
- Don’t forget proper sealing
The Bottom Line
Your backsplash is your kitchen’s canvas. Whether you’re a bold design lover or a subtle sophisticate, there’s a perfect backsplash waiting to transform your space.
Remember: Great design isn’t about following trends blindly. It’s about creating a space that makes YOU happy every time you walk in.
Pro Tip: Always get samples and test them in your actual kitchen lighting before committing. What looks amazing in a showroom might feel different in your space.
Ready to turn your kitchen into a design masterpiece? Your backsplash journey starts now!