Why Farmhouse Kitchen Shelves Are Your New Decor Obsession
Imagine walking into a kitchen where every shelf tells a story. Where wooden planks, vintage ceramics, and carefully curated accessories create a space that’s both breathtakingly beautiful and totally functional.
The Farmhouse Shelf Magic Formula
Key Ingredients:
- Warm, reclaimed wood
- Vintage-inspired accessories
- Practical storage with serious style
- Layers of texture and personality
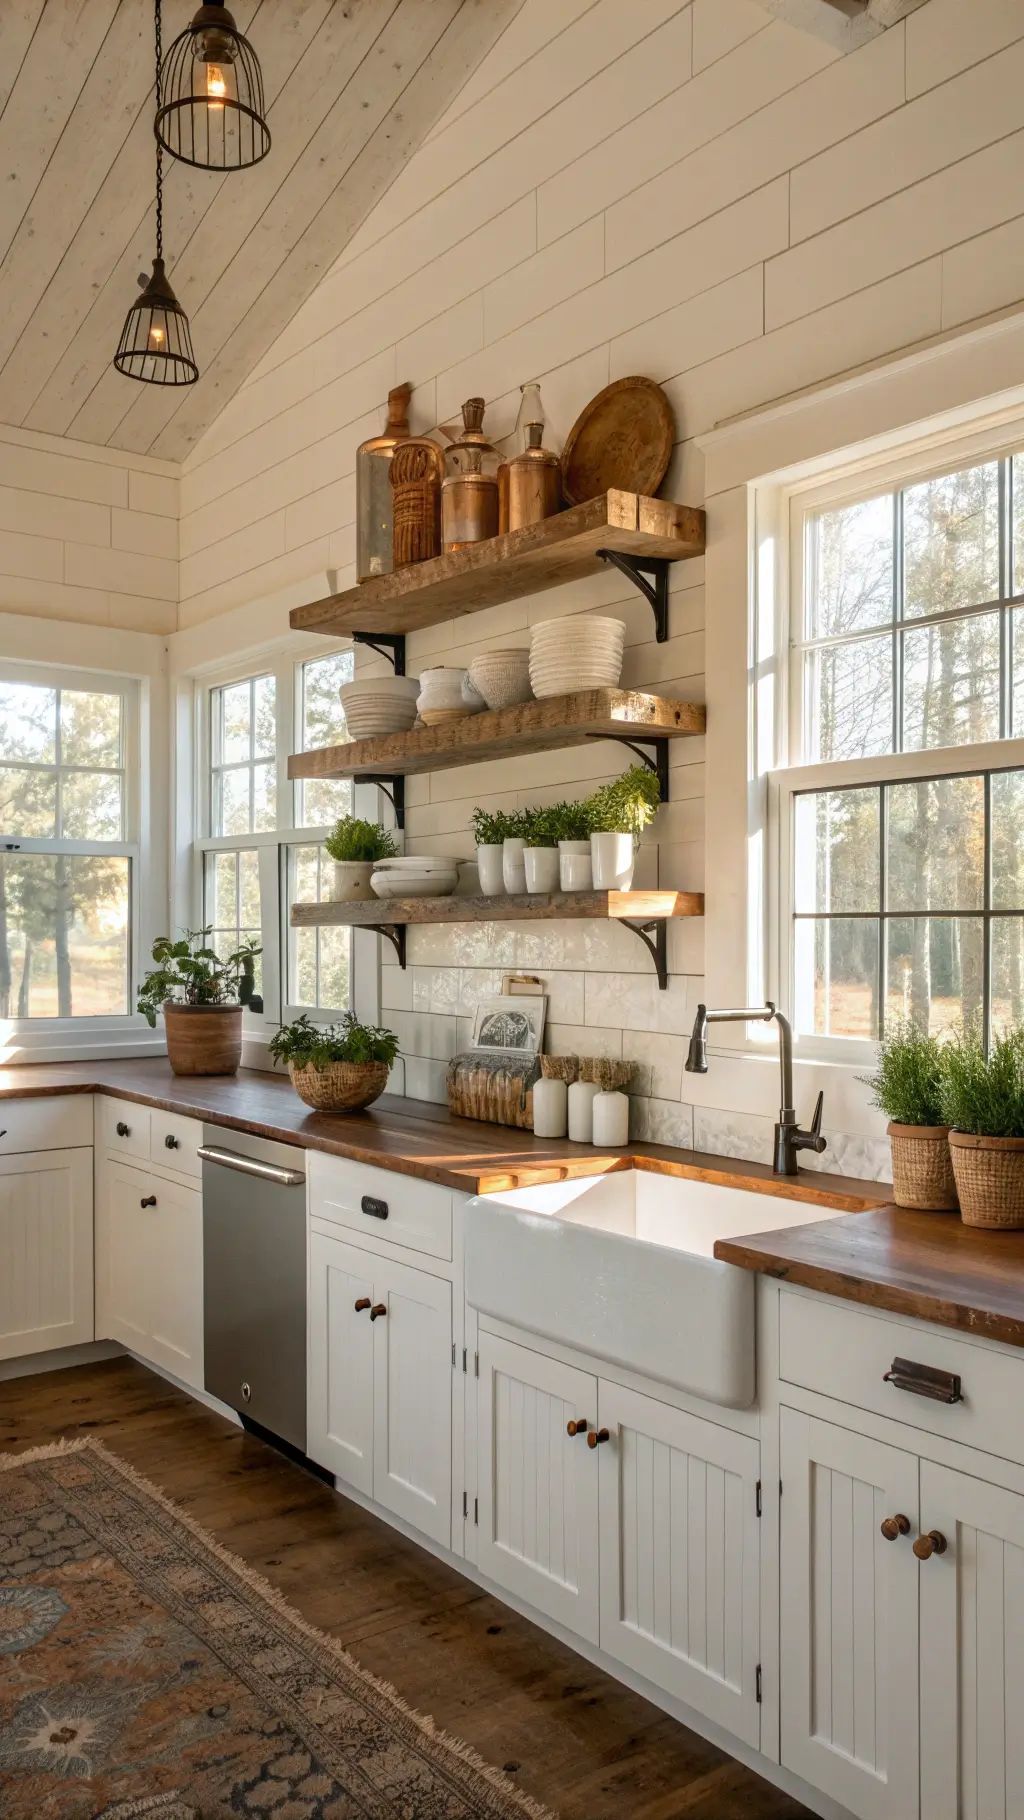
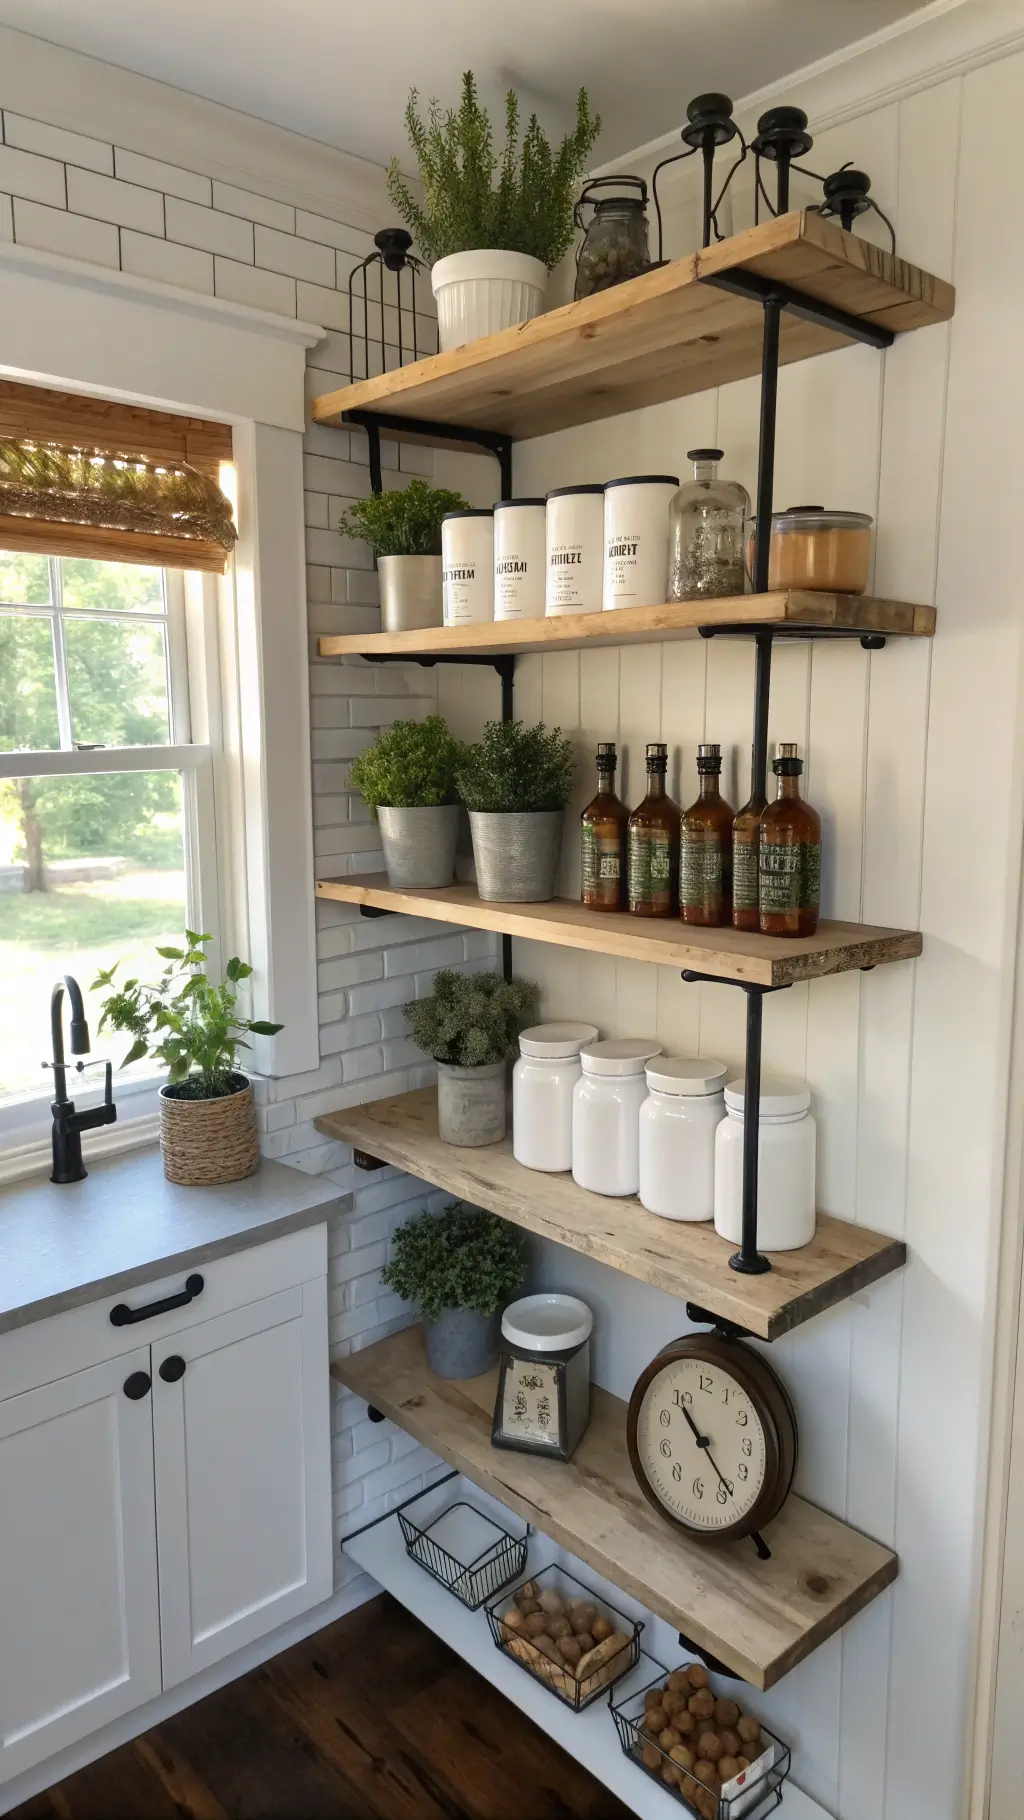
🌟 Steal This Look
- Paint Color: Sherwin-Williams Alabaster SW 7008
- Furniture: reclaimed barn wood floating shelf brackets with black iron pipe supports
- Lighting: vintage schoolhouse pendant with aged brass finish
- Materials: rough-hewn pine, matte black iron, hand-thrown stoneware, linen tea towels
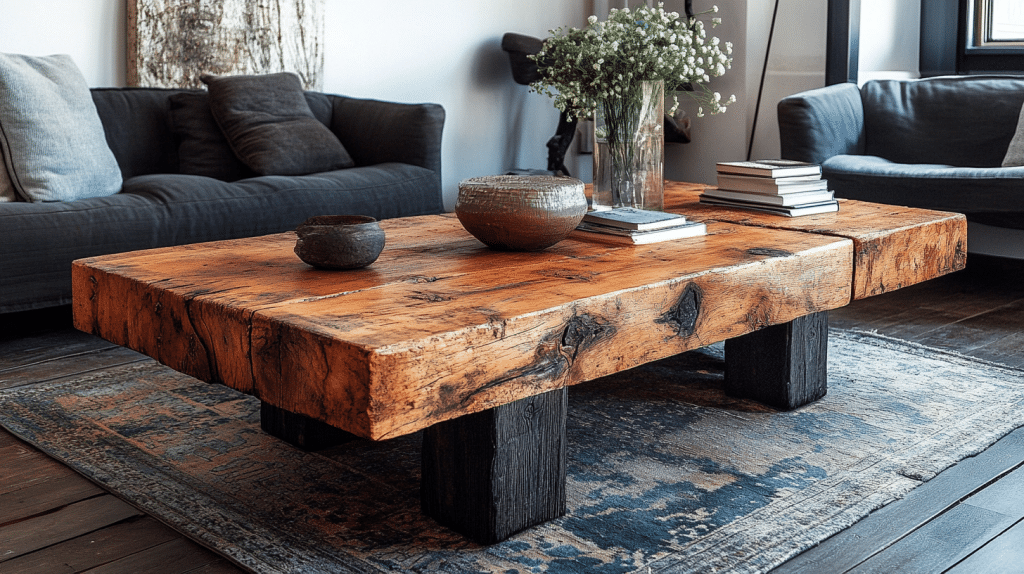
There’s something deeply satisfying about reaching for a well-loved mixing bowl from open shelving—it turns the ritual of cooking into a small daily pleasure.
Designing Your Perfect Farmhouse Shelves: A Step-by-Step Guide
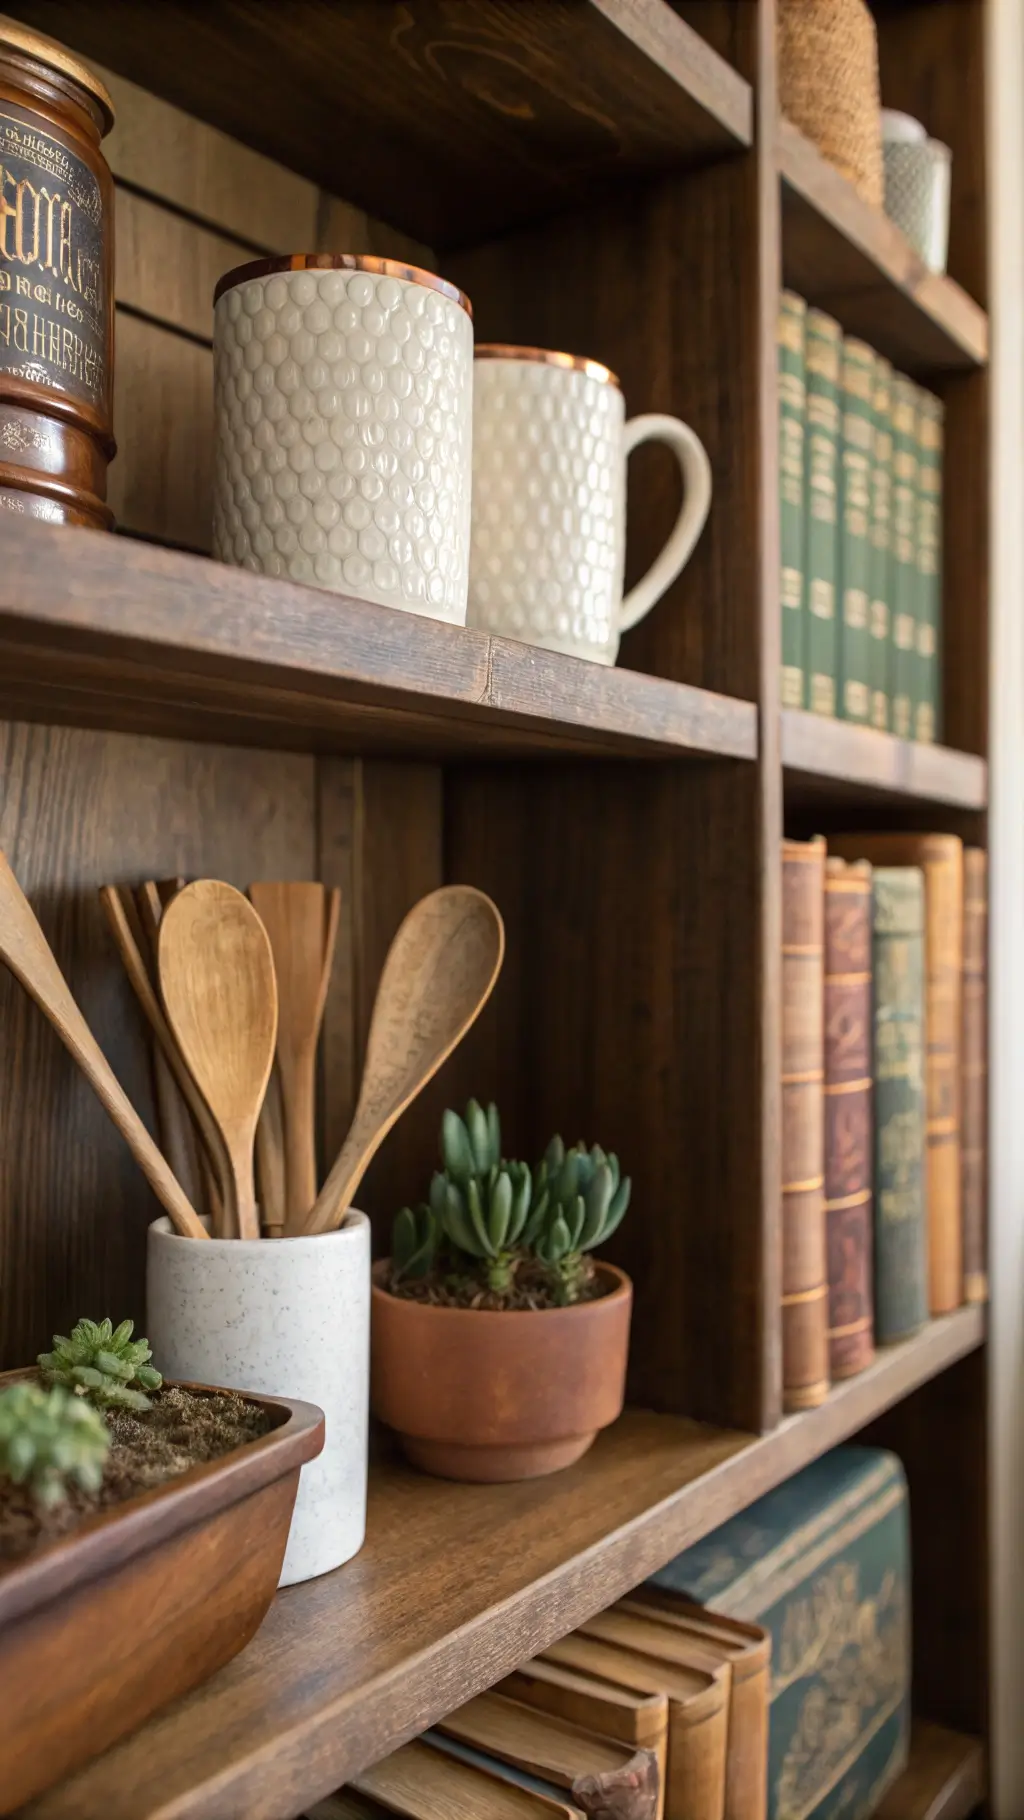
Choosing Your Shelves: Materials Matter
Wood Options:
- Reclaimed barn wood
- Distressed pine
- Rich walnut
- Whitewashed cedar
Pro Tip: Look for shelves with visible wood grain and character. Imperfections aren’t flaws – they’re stories waiting to be told.
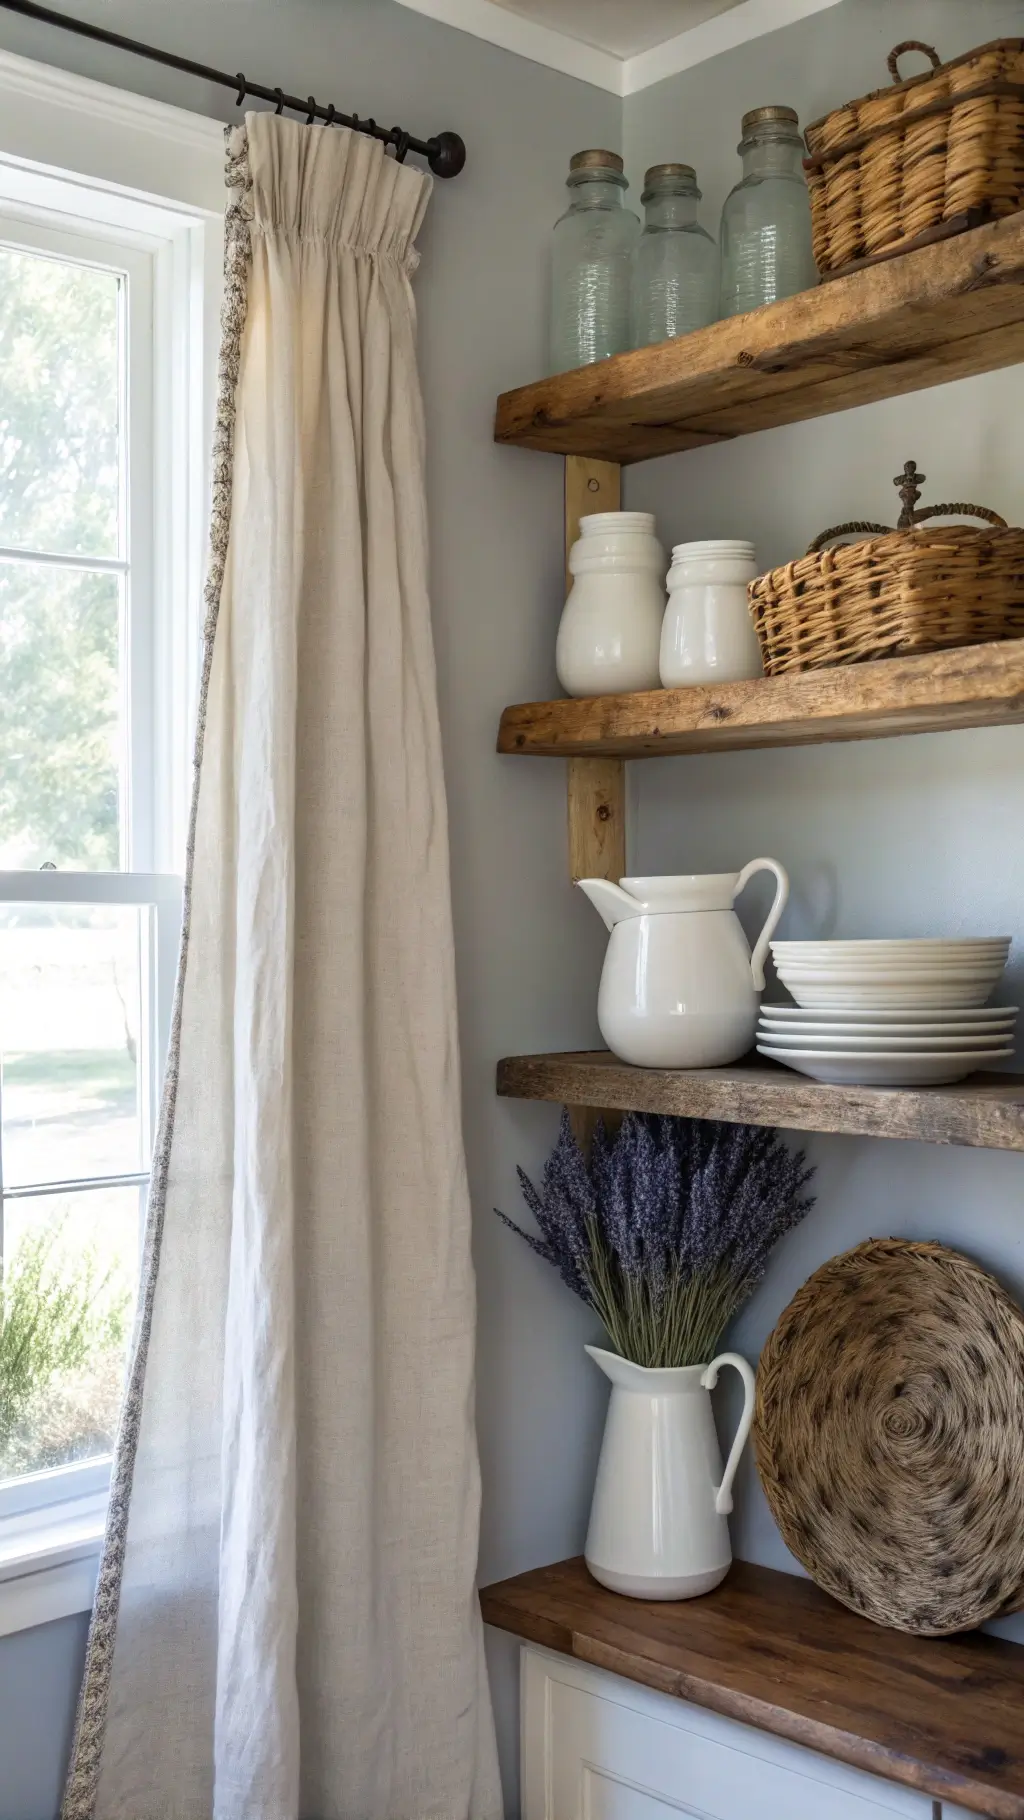
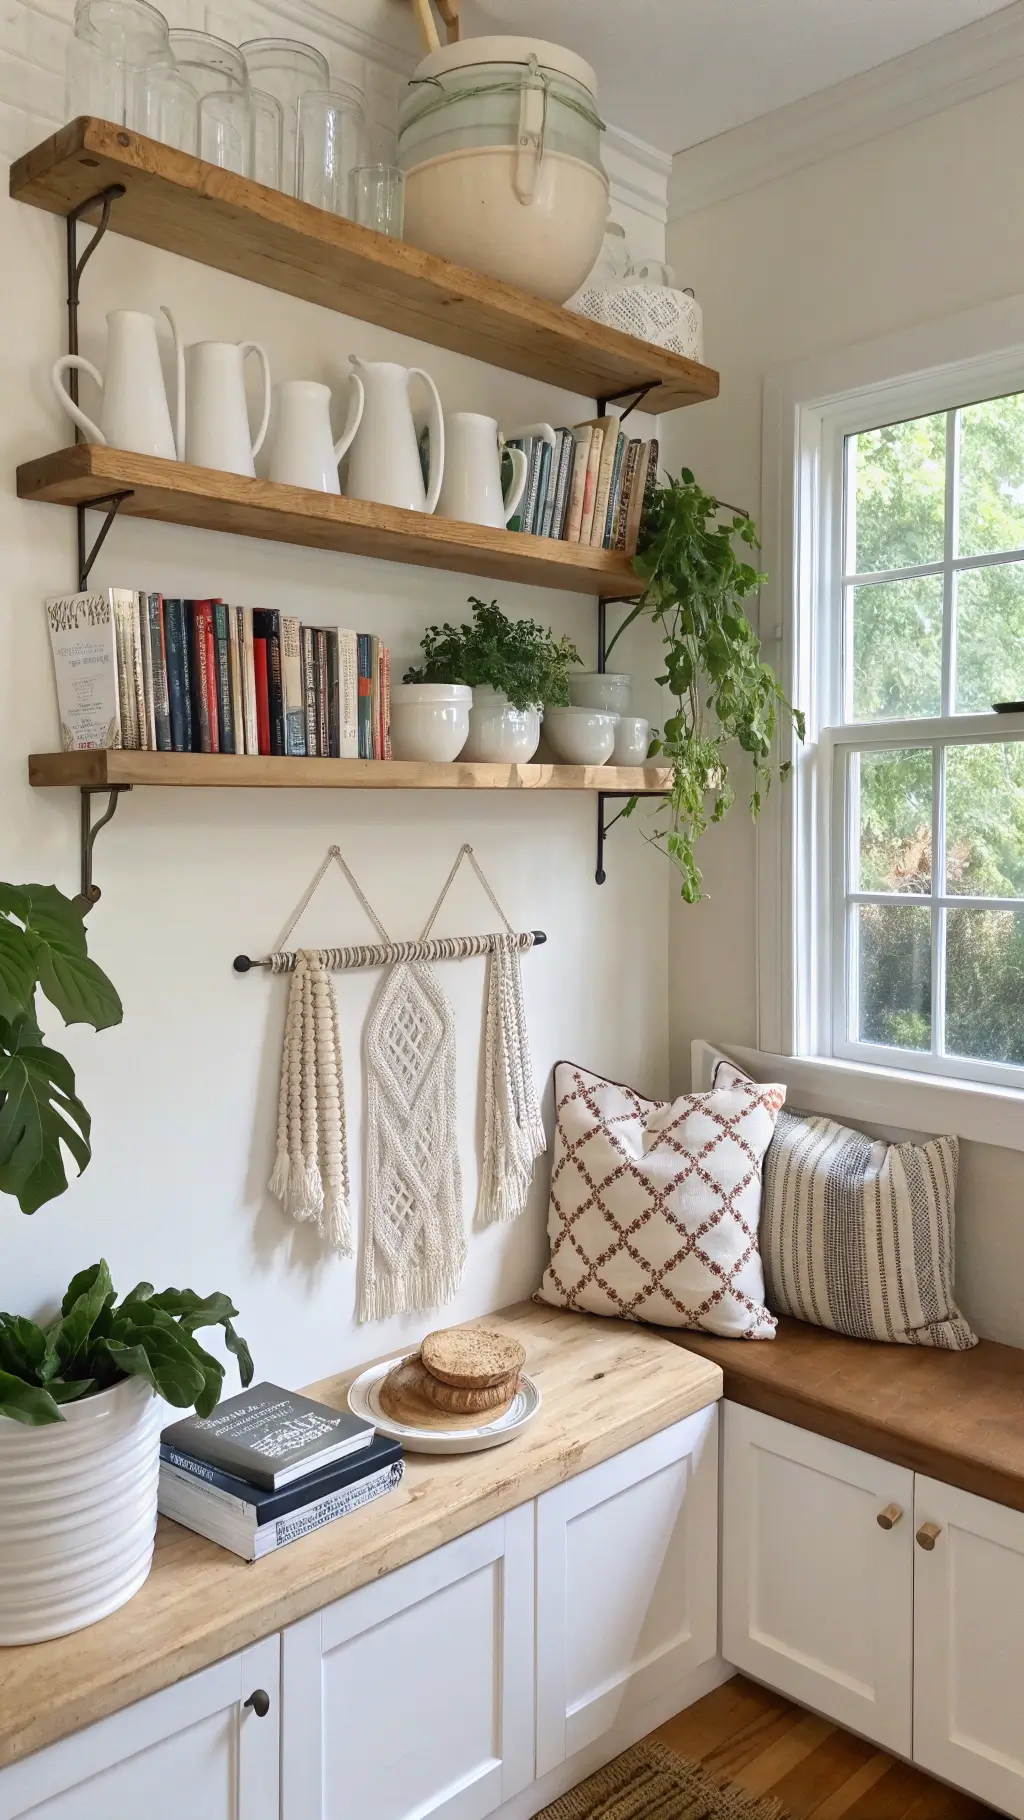
Must-Have Farmhouse Shelf Accessories
Functional Decor Essentials:
- White ceramic dishes
- Glass storage jars
- Vintage kitchen tools
- Enamel pitchers
- Woven baskets
- Fresh herbs or potted plants
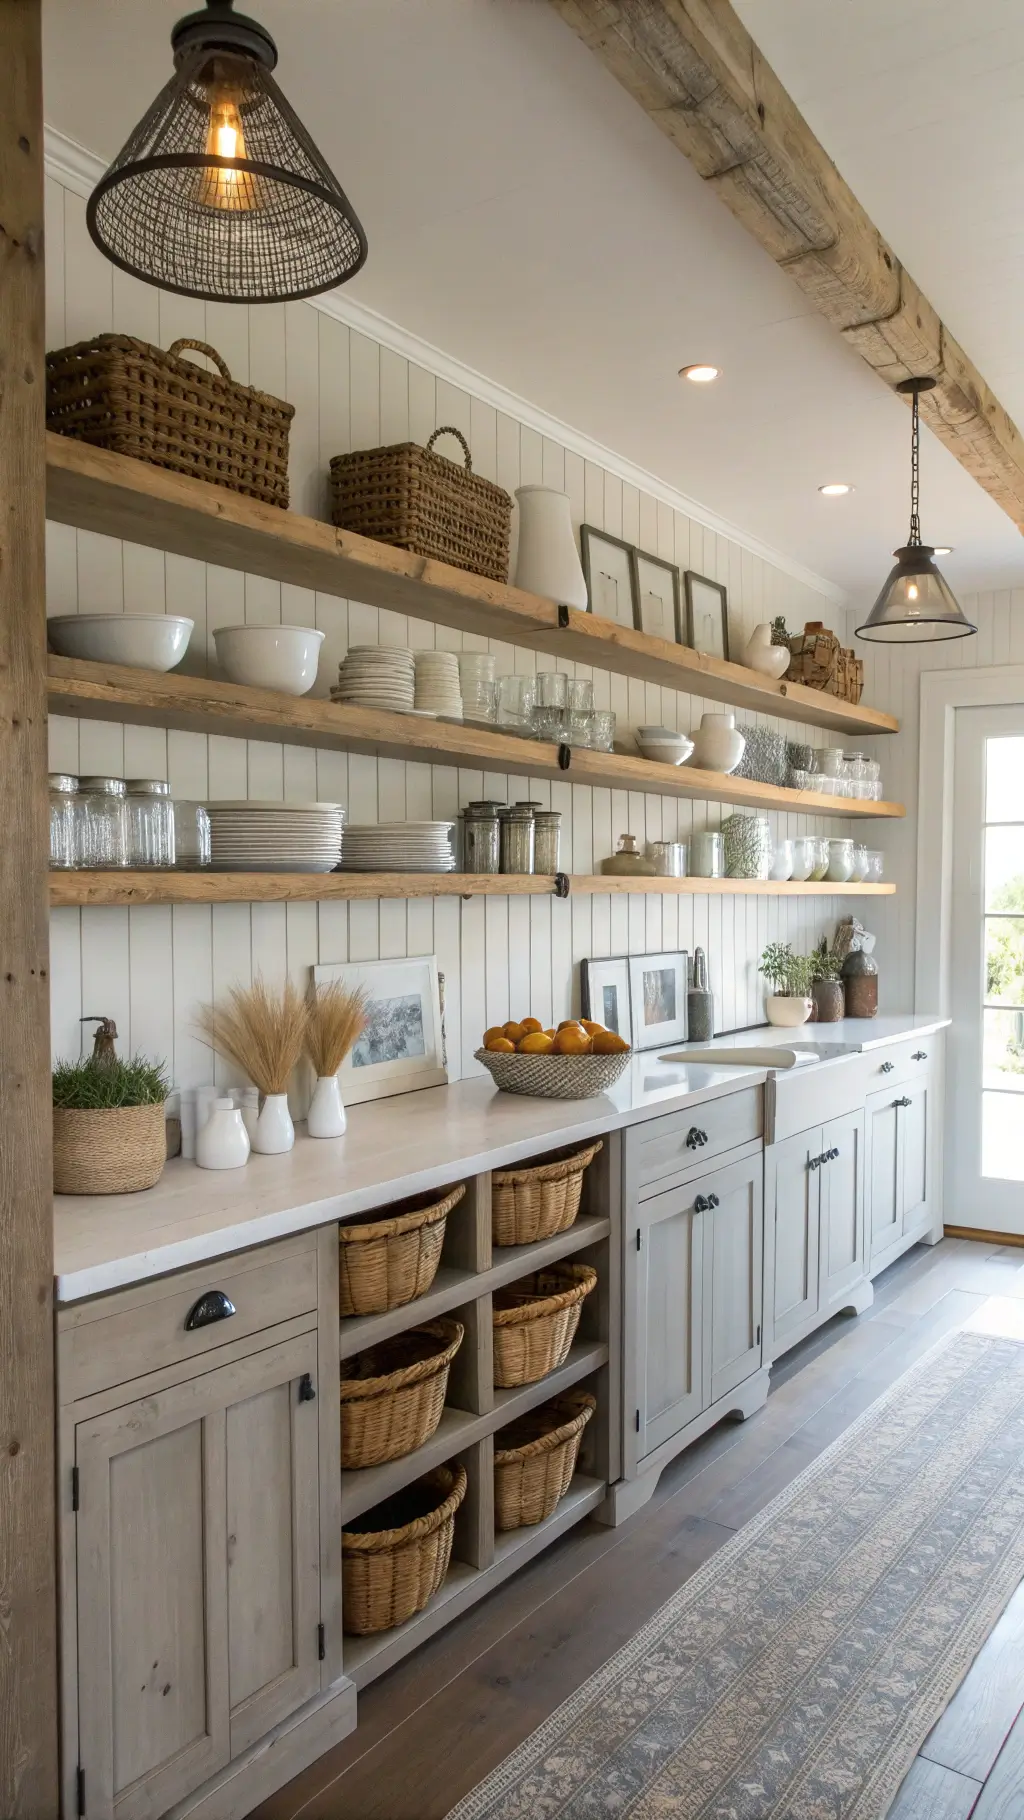
★ Steal This Look
- Paint Color: Benjamin Moore White Dove OC-17
- Furniture: reclaimed barn wood floating shelves with black iron brackets
- Lighting: schoolhouse pendant lights with aged brass hardware
- Materials: rough-hewn timber, matte black metal, hand-thrown ceramics, woven seagrass, chippy enamelware
There’s something deeply satisfying about running your hand across a shelf that still bears the saw marks from a century-old barn beam. These shelves become the heartbeat of your kitchen, holding not just dishes but the daily rituals of coffee mugs and Sunday morning pancakes.
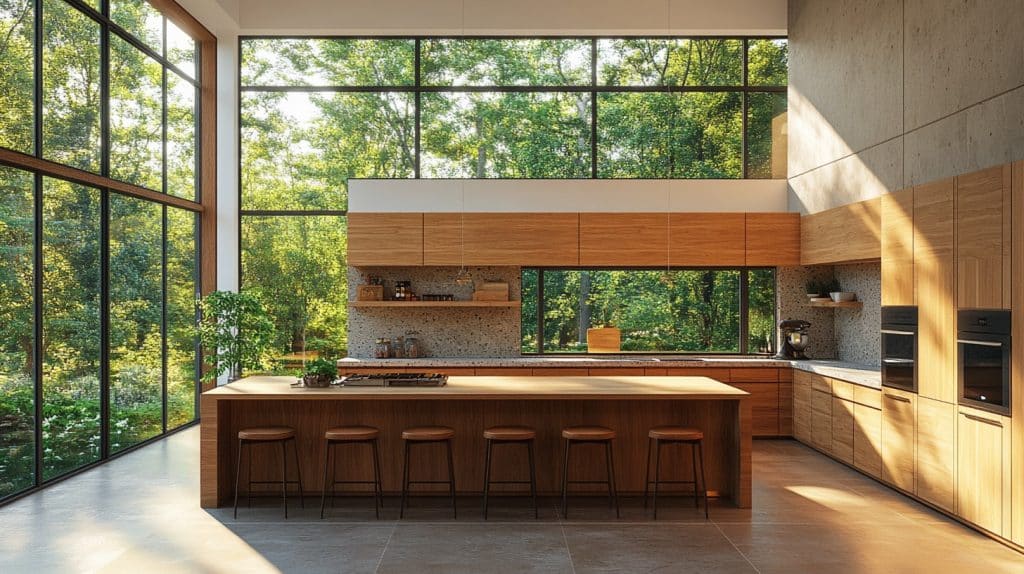
Styling Secrets: Making Your Shelves Instagram-Worthy
The Art of Shelf Composition
Layering Like a Pro:
- Start with larger items in the back
- Create visual triangles
- Mix heights and textures
- Leave breathing room between items
Color Palette:
- Neutrals (whites, creams, soft grays)
- Touches of black
- Natural wood tones
- Subtle green accents
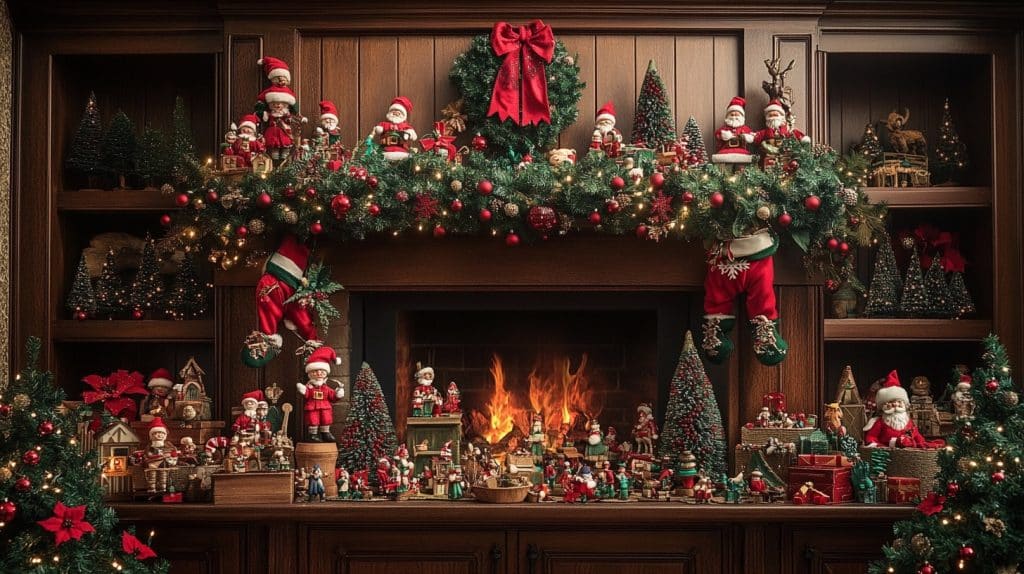
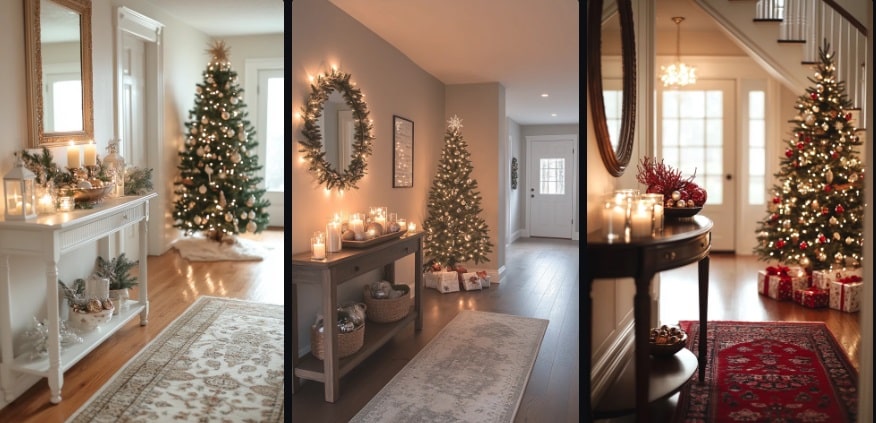
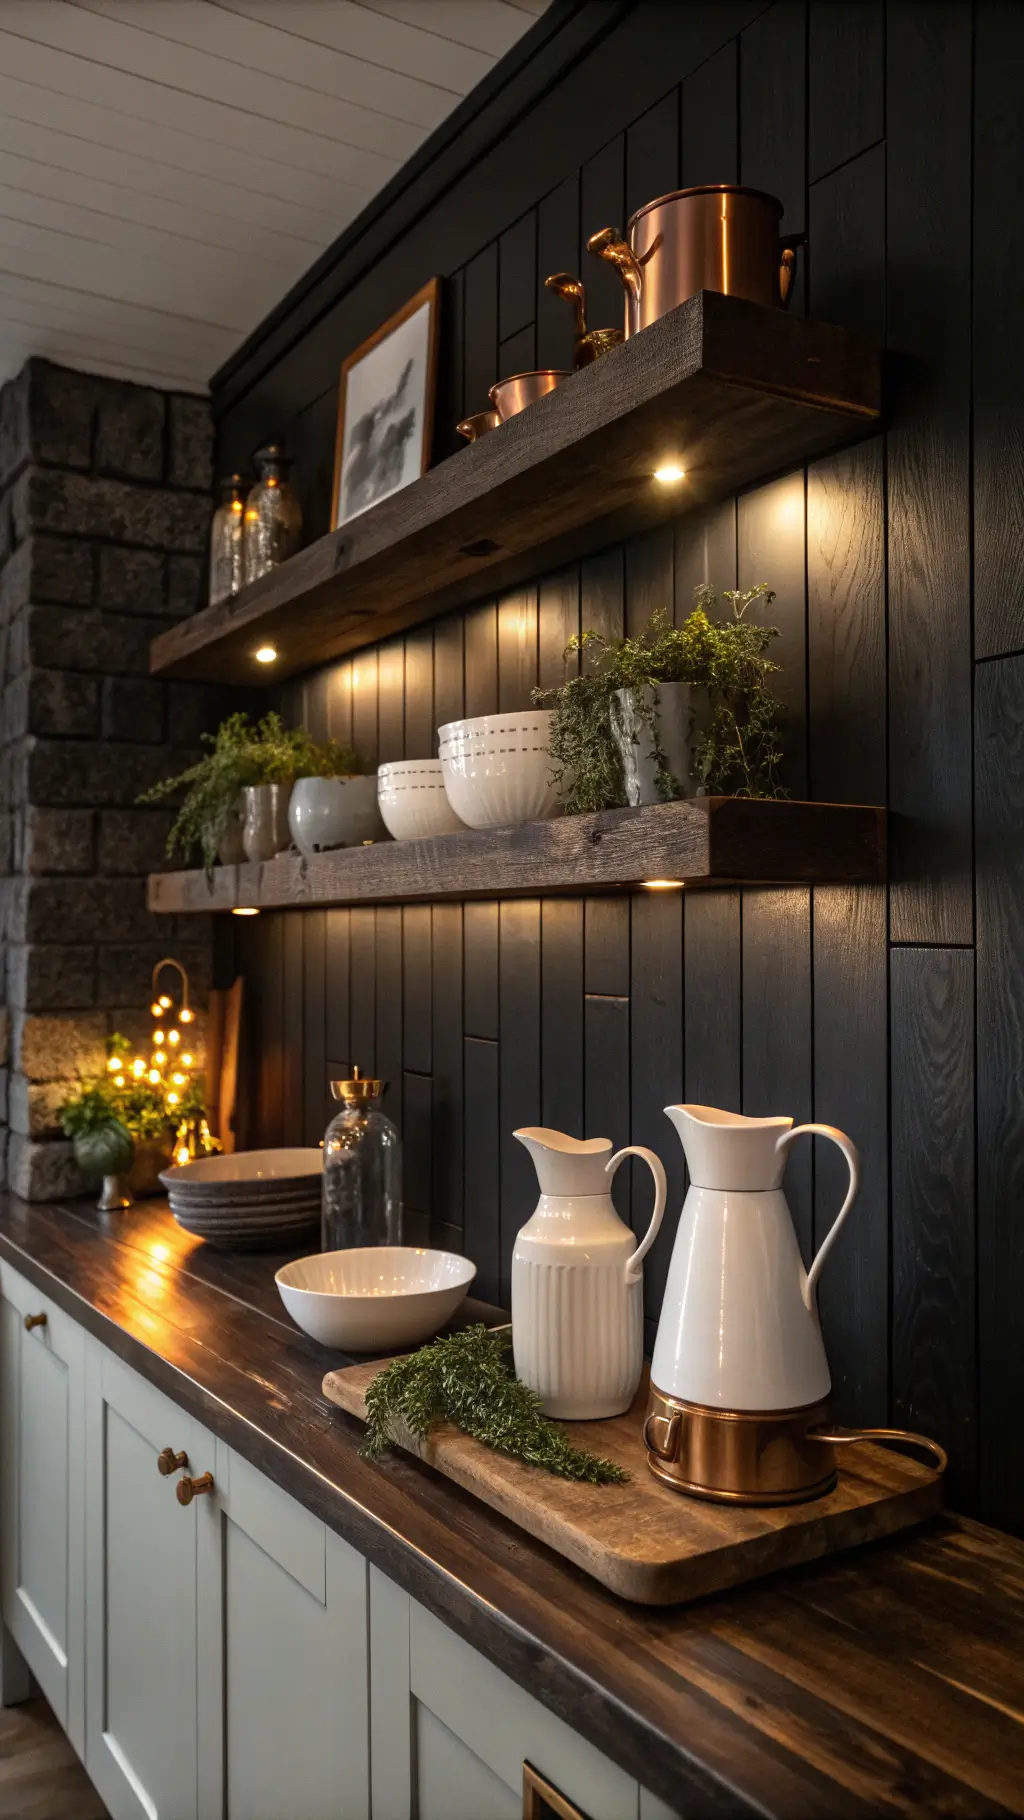
Seasonal Refresh Strategies
Quick Swap Ideas:
- Summer: Fresh herbs, light linens
- Fall: Copper accents, mini pumpkins
- Winter: Pine branches, cozy textiles
- Spring: Pastel ceramics, wildflowers
🎨 Steal This Look
- Paint Color: Farrow & Ball Pointing 2003
- Furniture: vintage pine hutch with glass-front cabinets
- Lighting: schoolhouse pendant with aged brass hardware
- Materials: reclaimed barn wood, hand-thrown ceramics, linen tea towels, cast iron trivets, seeded glass canisters
These shelves become the heartbeat of your kitchen—where morning coffee mugs mingle with heirloom pie plates and the stories start before the cooking does.
DIY Installation Tips
What You’ll Need:
- Sturdy wall anchors
- Level
- Drill
- Measuring tape
- Stud finder
Installation Checklist:
- Locate wall studs
- Mark precise mounting points
- Use heavy-duty anchors
- Check level multiple times
- Support shelves with robust brackets
🏠 Steal This Look
- Paint Color: Behr Swiss Coffee 12
- Furniture: floating reclaimed wood shelves with hidden bracket systems
- Lighting: adjustable LED under-shelf puck lights with warm 2700K temperature
- Materials: rough-sawn white oak, black iron pipe brackets, matte ceramic canisters, vintage galvanized metal accents
There’s something deeply satisfying about stepping back from a wall you’ve just transformed, knowing every level check and anchor choice means your grandmother’s ironstone won’t crash down during dinner prep.
Budget-Friendly Farmhouse Shelf Hacks
- Thrift store hunting for vintage pieces
- DIY wood staining
- Repurpose old wood pallets
- Mix high and low-end accessories
- Shop secondhand for unique finds
★ Steal This Look
- Paint Color: use Valspar brand. Match the ACTUAL wall color in the image. Format: Valspar ColorName CODE
- Furniture: reclaimed barn wood floating shelves with black iron pipe brackets
- Lighting: vintage-style schoolhouse pendant with aged brass finish
- Materials: weathered pine, matte black metal, seeded glass, burlap, galvanized tin
There’s something deeply satisfying about pointing to a shelf and saying, ‘That old crate? Found it for three dollars at a garage sale.’ Your kitchen should tell your story, not a catalog’s.
Common Mistakes to Avoid
Shelf Styling No-Nos:
- Overcrowding
- Matching everything perfectly
- Ignoring functionality
- Forgetting about weight limits
- Neglecting overall kitchen aesthetic
Final Thoughts: Your Farmhouse Shelf Journey
Farmhouse kitchen shelves aren’t just about decoration. They’re about creating a space that feels like home – warm, inviting, and full of character.
Remember: Perfect isn’t the goal. Personality is.
Pro Photographer’s Tip: Shoot in soft, natural light. Early morning or late afternoon creates the most magical farmhouse glow.
Quick Reference Guide
- Time Investment: 2-6 hours
- Skill Level: Beginner to Intermediate
- Cost Range: $40-$200
- Potential Impact: Totally transformative
Ready to turn your kitchen into a farmhouse dream? Let’s do this.